How to Take Construction Progress Photos (That Still Answer “Which Floor?” After the Work Is Covered)
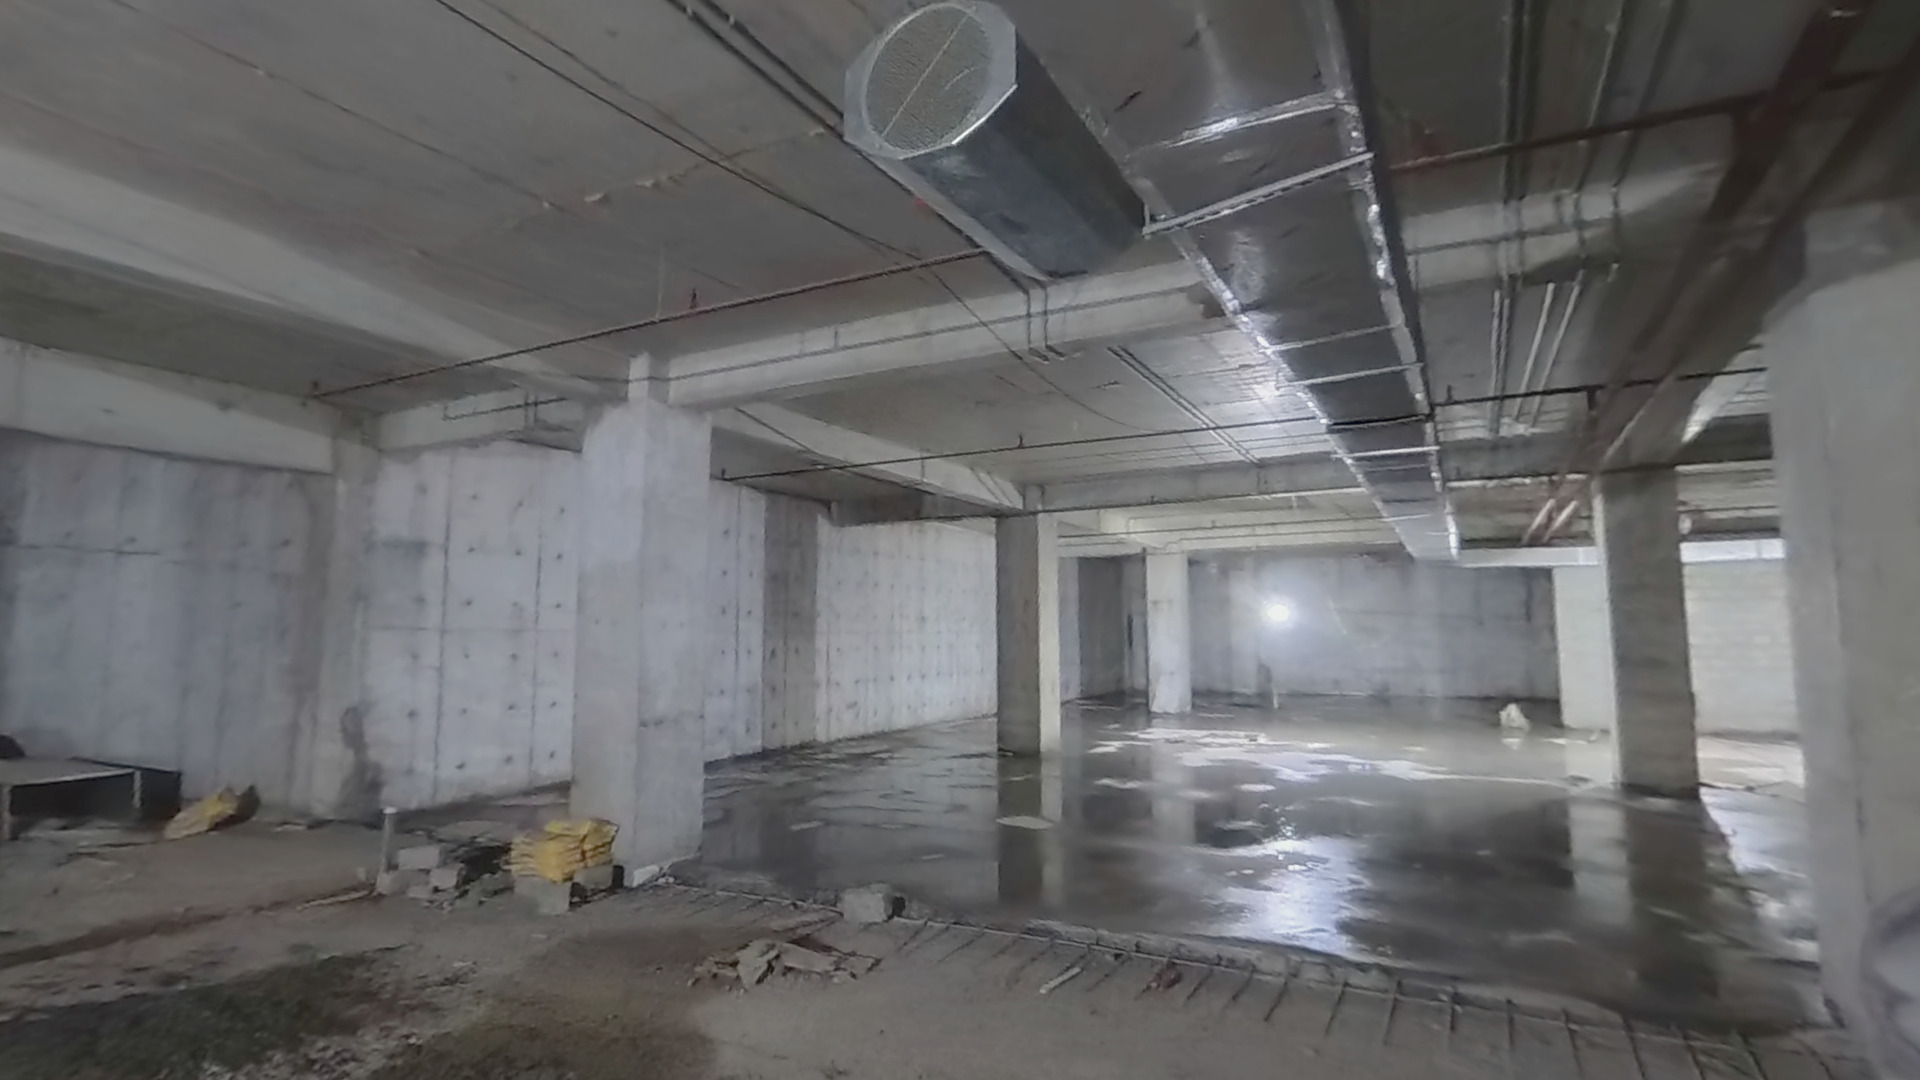

On Thursday the client's rep sends Monday's photo back with one line: “Which floor is that?” It's a clear shot of sprinkler mains in a ceiling void, probably the east bay on level 5, but levels 5 and 6 look alike at this stage, and the level 5 ceiling was boarded on Wednesday. Until someone can prove which ceiling it shows, the sign-off waits, and the only sure check left is to cut the boards open. You'll rename the week's photos on Friday evening, and the folder still won't answer the next question, “was that there last week?”
Most teams respond by sending more photos, or sharper ones, but a well-lit picture still doesn't record where on the plan it was taken or what the same corner looked like a week earlier, so the folder grows while the question stays open.
Construction progress photos prove progress when each one is taken from the same spot on the same route every week, tied to its place on the floor plan, dated, and taken before the work is covered. A 360° walk pinned to the plan does this in one pass, whereas ordinary photos suit close-ups of one detail.
Each pour and each board buries something a photo was meant to show, and every day of chat messages buries the photo itself a little deeper.
What makes a progress photo useful months later?
A photo is useful later when someone who wasn't there can tell when and where it was taken. Washington State's construction manual says photographs kept as project documents must be fully identified with the date and location, and it suggests before-and-after views from the same vantage point, because then the only thing that changes between two photos is the work. Timing matters as much, since nobody can retake a photo once the area is covered, which is what our checklist of what to capture before the walls close is for. The American Institute of Architects also advises that each site photo should have a specific purpose, usually a point in the field report, which keeps the folder small enough to search.
Why most progress photos don't settle anything
Progress photos usually live in a WhatsApp group or a camera roll, and both lose the context a photo needs. The chat shows when a photo was sent, which can be days after it was taken, and a forwarded photo shows who forwarded it rather than who took it. Researchers studying construction images report the same problem at scale, since photos that pile up without structure become hard to label and retrieve (Farahat and Rezazadeh Azar, ISARC 2024).
The quieter problem is the angle, because it's natural to photograph the finished bay, so the owner's rep ends up signing off a selection they didn't make. A close-up of one pipe joint with nothing around it is worse still, since it can't be placed on any floor.
A weekly photo routine that holds up
The phone you already carry can fix most of this, with a routine anyone on the team can repeat:
- Mark numbered photo points on each level's floor plan so every bay or room is covered, and decide which way each shot faces.
- Walk the points in the same order on the same day each week, with a wide shot at each point before any close-ups.
- File the photos that day by level, point and date, and note the drawing revision each area was built to, since a photo can't show it.
- Walk each area again the day before it's covered, using the same point numbers, and fit those walks around the programme as our post on how often to capture a construction site explains.
The filing in step three is what slips in a busy week, and it's the part a 360° walk on the plan does while you walk. Once your photos carry their own floor, point and date, “which floor is that?” is answered by opening the point, and you become the person on the project whose photos settle the question first time.
Loose photos or a 360° walk on the plan?
The two answer different questions, so many sites keep both.
| The question you're asked | Loose photos | A 360° walk pinned to the plan |
|---|---|---|
| Which floor and which room is this? | Only if someone labelled it on the day | The photo sits at its point on that level's plan |
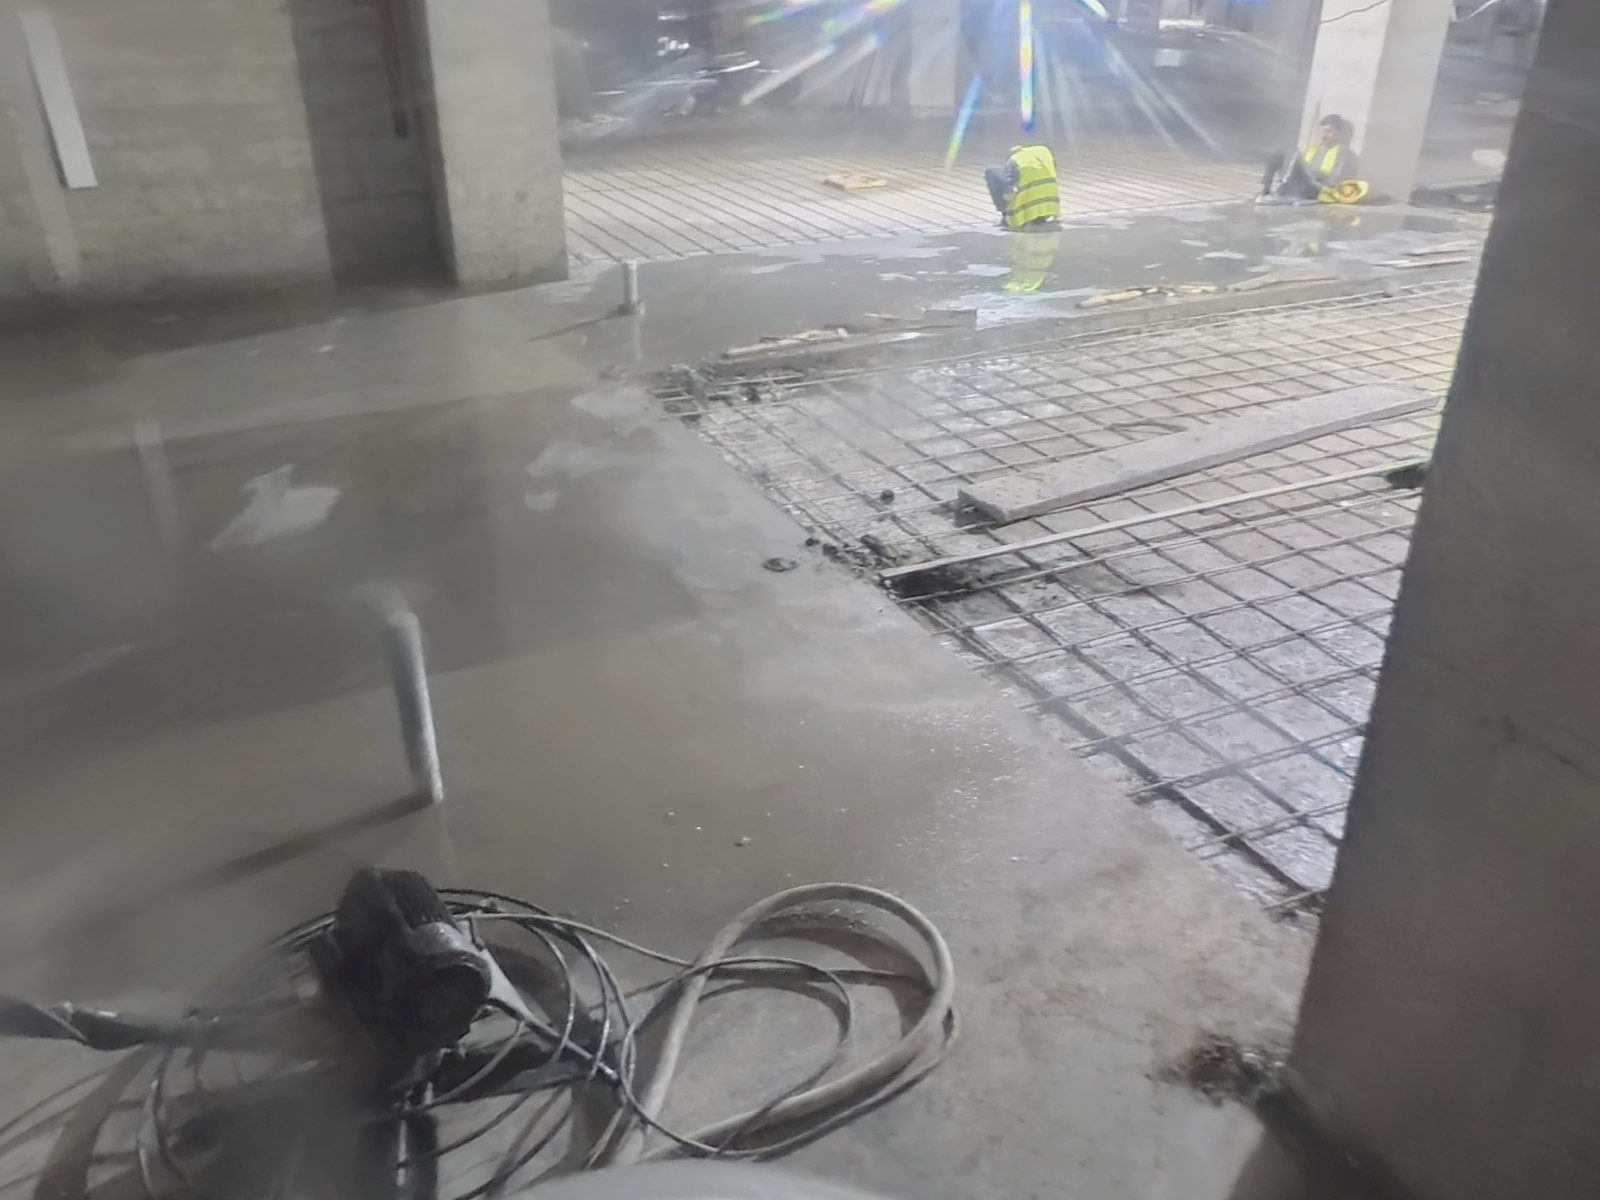
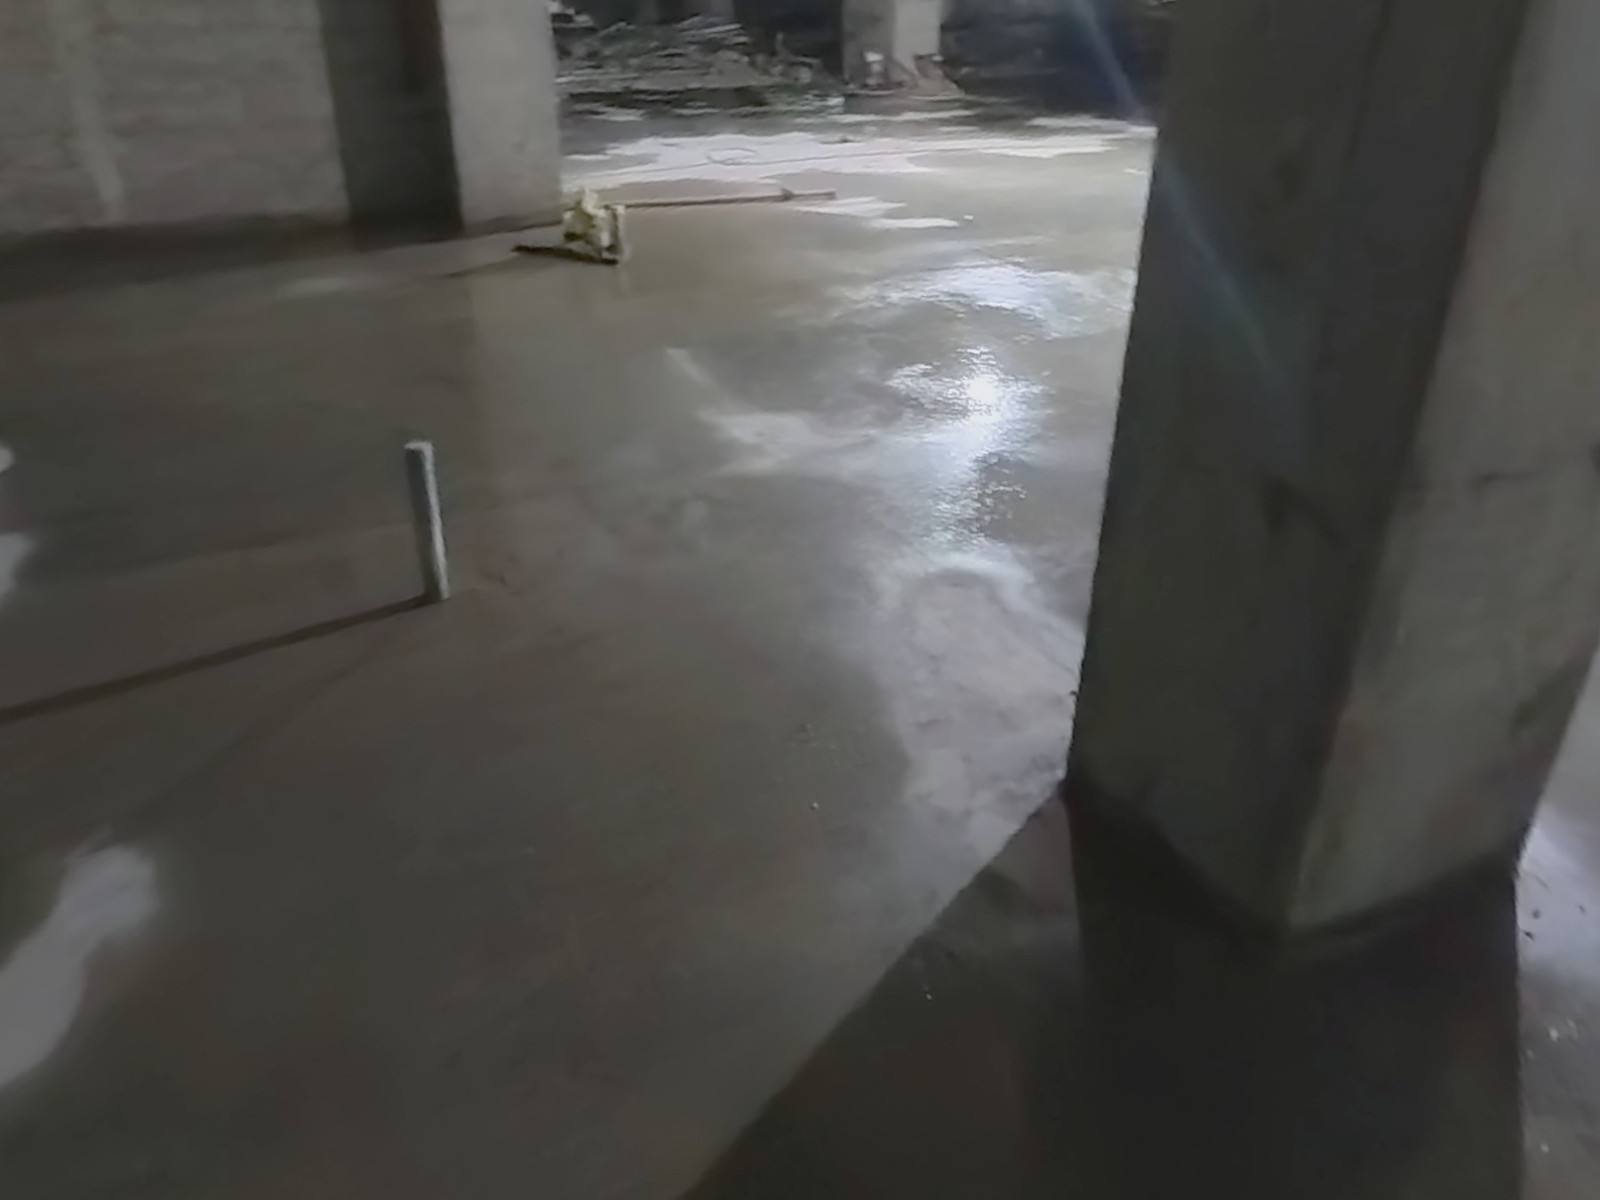
| Was that there last week? | Only if both photos were taken from the same spot, facing the same way | Open the same point on both dates side by side |
| What was under it before it was covered? | Only if someone photographed that exact area in time | If the walk ran before close-in, the whole room is on record, ceiling included |
| Is this the whole floor or the finished corner? | You see what the photographer chose | You walk the floor yourself, stop by stop |
| Which drawing revision did the work follow? | Only if it was written down | Only if it was written down, for example in the survey name |
| How wide is this crack, or which pipe is that? | A close-up with a tape in shot does this best | The images are wide, so take a phone close-up as well |
A phone stays the right tool for single defects and anything that needs a scale in the shot, and on a small single-storey job with little hidden work, the routine above may be all you need. Photos are one part of tracking a site, and our guide to tracking construction site progress in five steps covers the rest. If you review the photos from another city, see how to monitor a construction site remotely, and if you're weighing a fixed camera instead, see is a time-lapse camera enough?.
 9 Oct
 20 Oct
Where SpatialSense fits
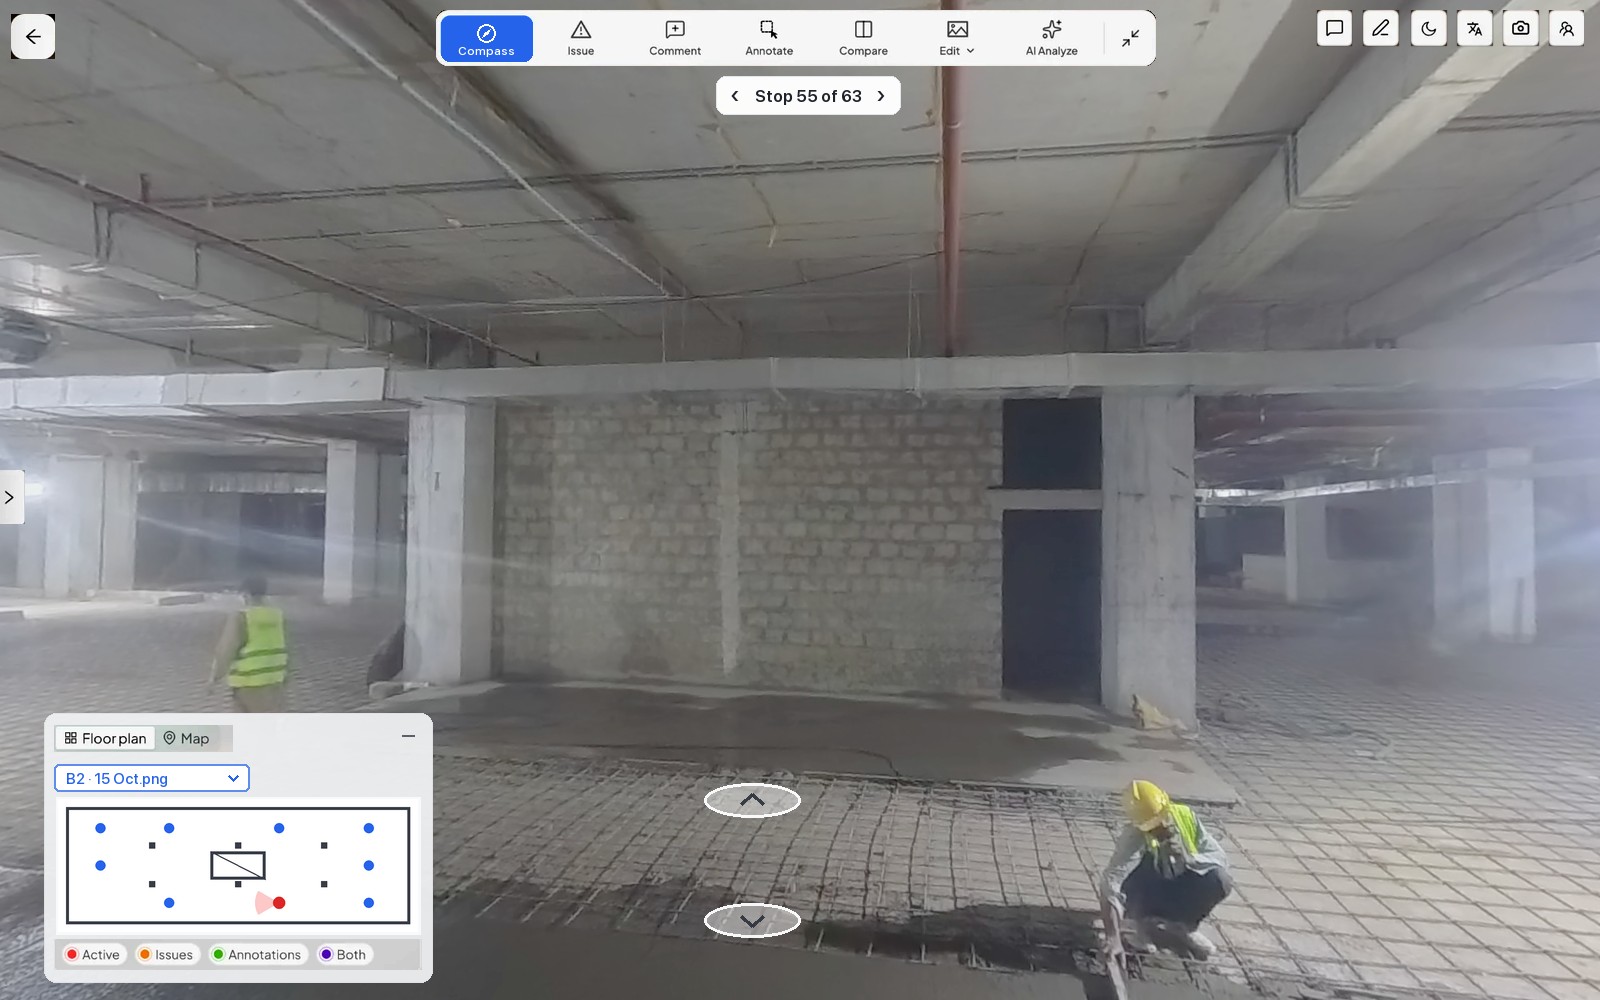
SpatialSense gives your site dated visual evidence of what was built, and when, by doing the filing as the walk is recorded. Your team walks with the Trace app and a 360° camera on a helmet. Capture Mode suits viewpoints you repeat on every visit, because you select the point on the floor plan, capture and confirm, whereas Video Mode covers ground and gives every frame GPS and a timestamp. If the plan is added first, the walk uploads with its path drawn on it, and each survey is one dated visit.
When someone asks about last week, Compare 360 takes a photo from one date, finds the nearest match on the other and lines up the direction, while a compass and a viewing cone on the plan show which way each photo faces. The owner's rep opens the walk from a share link with no login and can walk the whole floor for themselves. On a thirty-week new build in Islamabad, the people already walking the site made seven dated captures in twenty-four days with no survey crew.
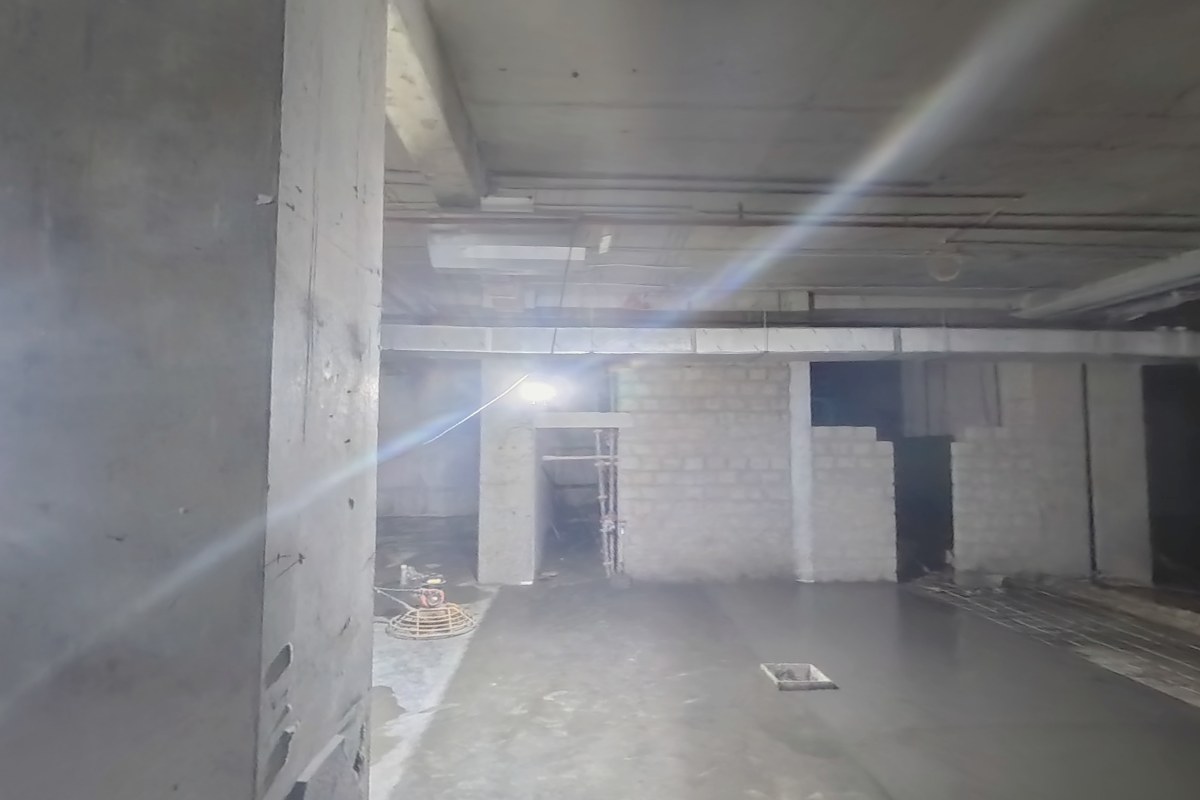
Today's B2 walk is up. Blockwork on the east bay is at full height, and the slab next to it was poured this morning.
Capture. Understand. Take Action.
See SpatialSense on your project
Mark your photo points on next week's plan and walk them in the 30-day free trial, which needs no card. During the trial you upload 360° panoramas in the browser, and Trace is set up with you when you book a demo.
FAQ
What should construction progress photos include?
Each photo needs the date, the level, the point on the plan it was taken from and the direction it faces. Take a wide shot before any close-ups, and photograph anything about to be covered the day before it is.
Is there a template for construction progress photos?
The most useful one is a floor plan with numbered photo points, plus a log with a row per point and columns for the date, direction, drawing revision and any work about to be covered.
Are 360° photos better than regular progress photos?
For a whole room or floor compared week to week they usually are, because one capture takes in every direction and sits on the plan. A single defect, or a detail that needs a scale, is still better as a phone close-up.