5. Mark & Track Issues in 3D
Precision in the field starts with clarity in the model. Marking and Tracking Issues allows you to turn visual observations into actionable tasks, closing the loop between identifying a problem and resolving it.
By placing issues directly within the 3D space, you provide the exact spatial context—elevation, coordinates, and surrounding obstructions—that a standard 2D photo lacks. This spatial "anchor" ensures that when a contractor arrives on-site to fix a clash or a safety hazard, they know exactly where to look and what the design intent was.
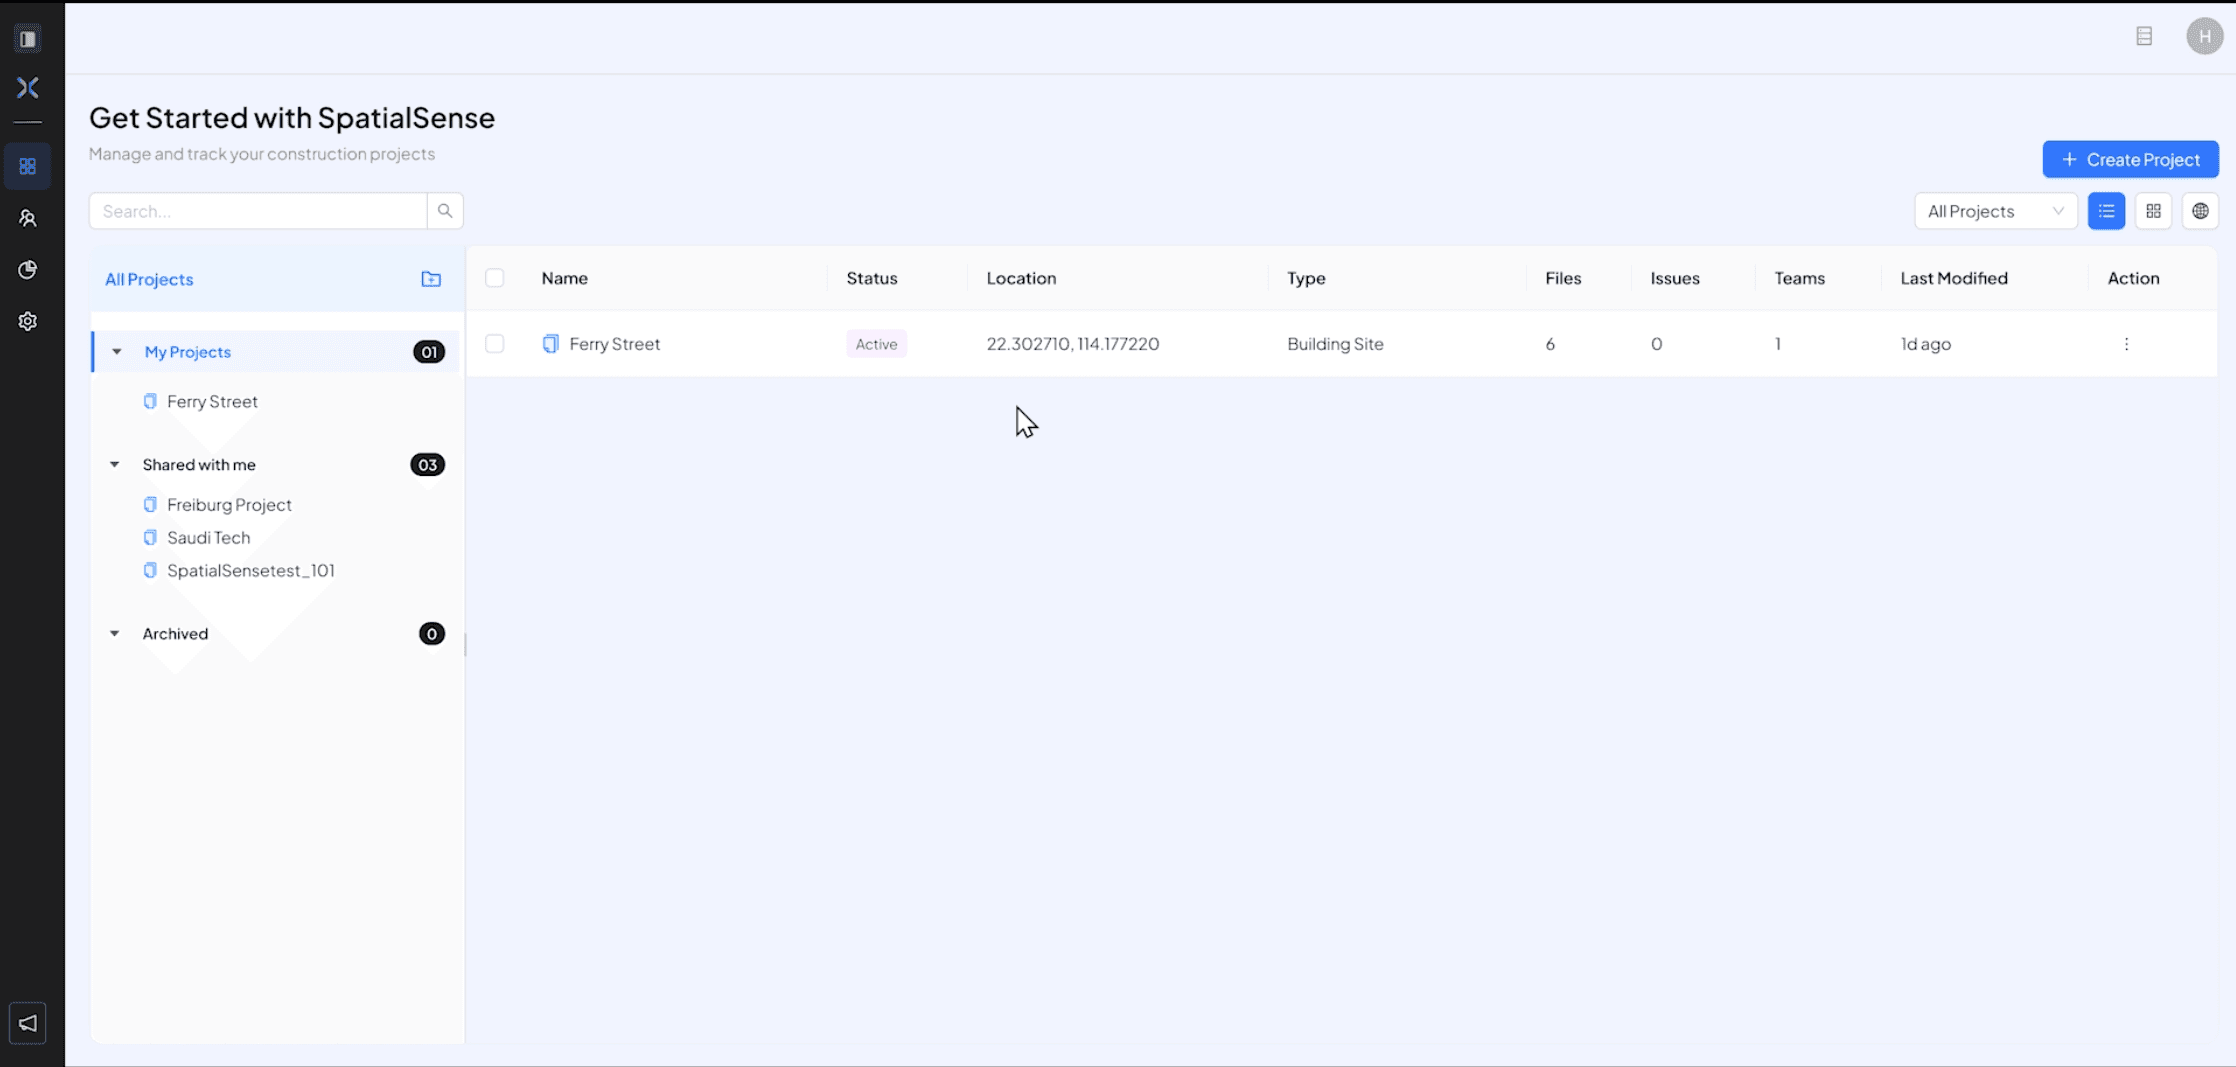
In your project dashboard, either create a new project or in your existing project, Click on the project you want to see
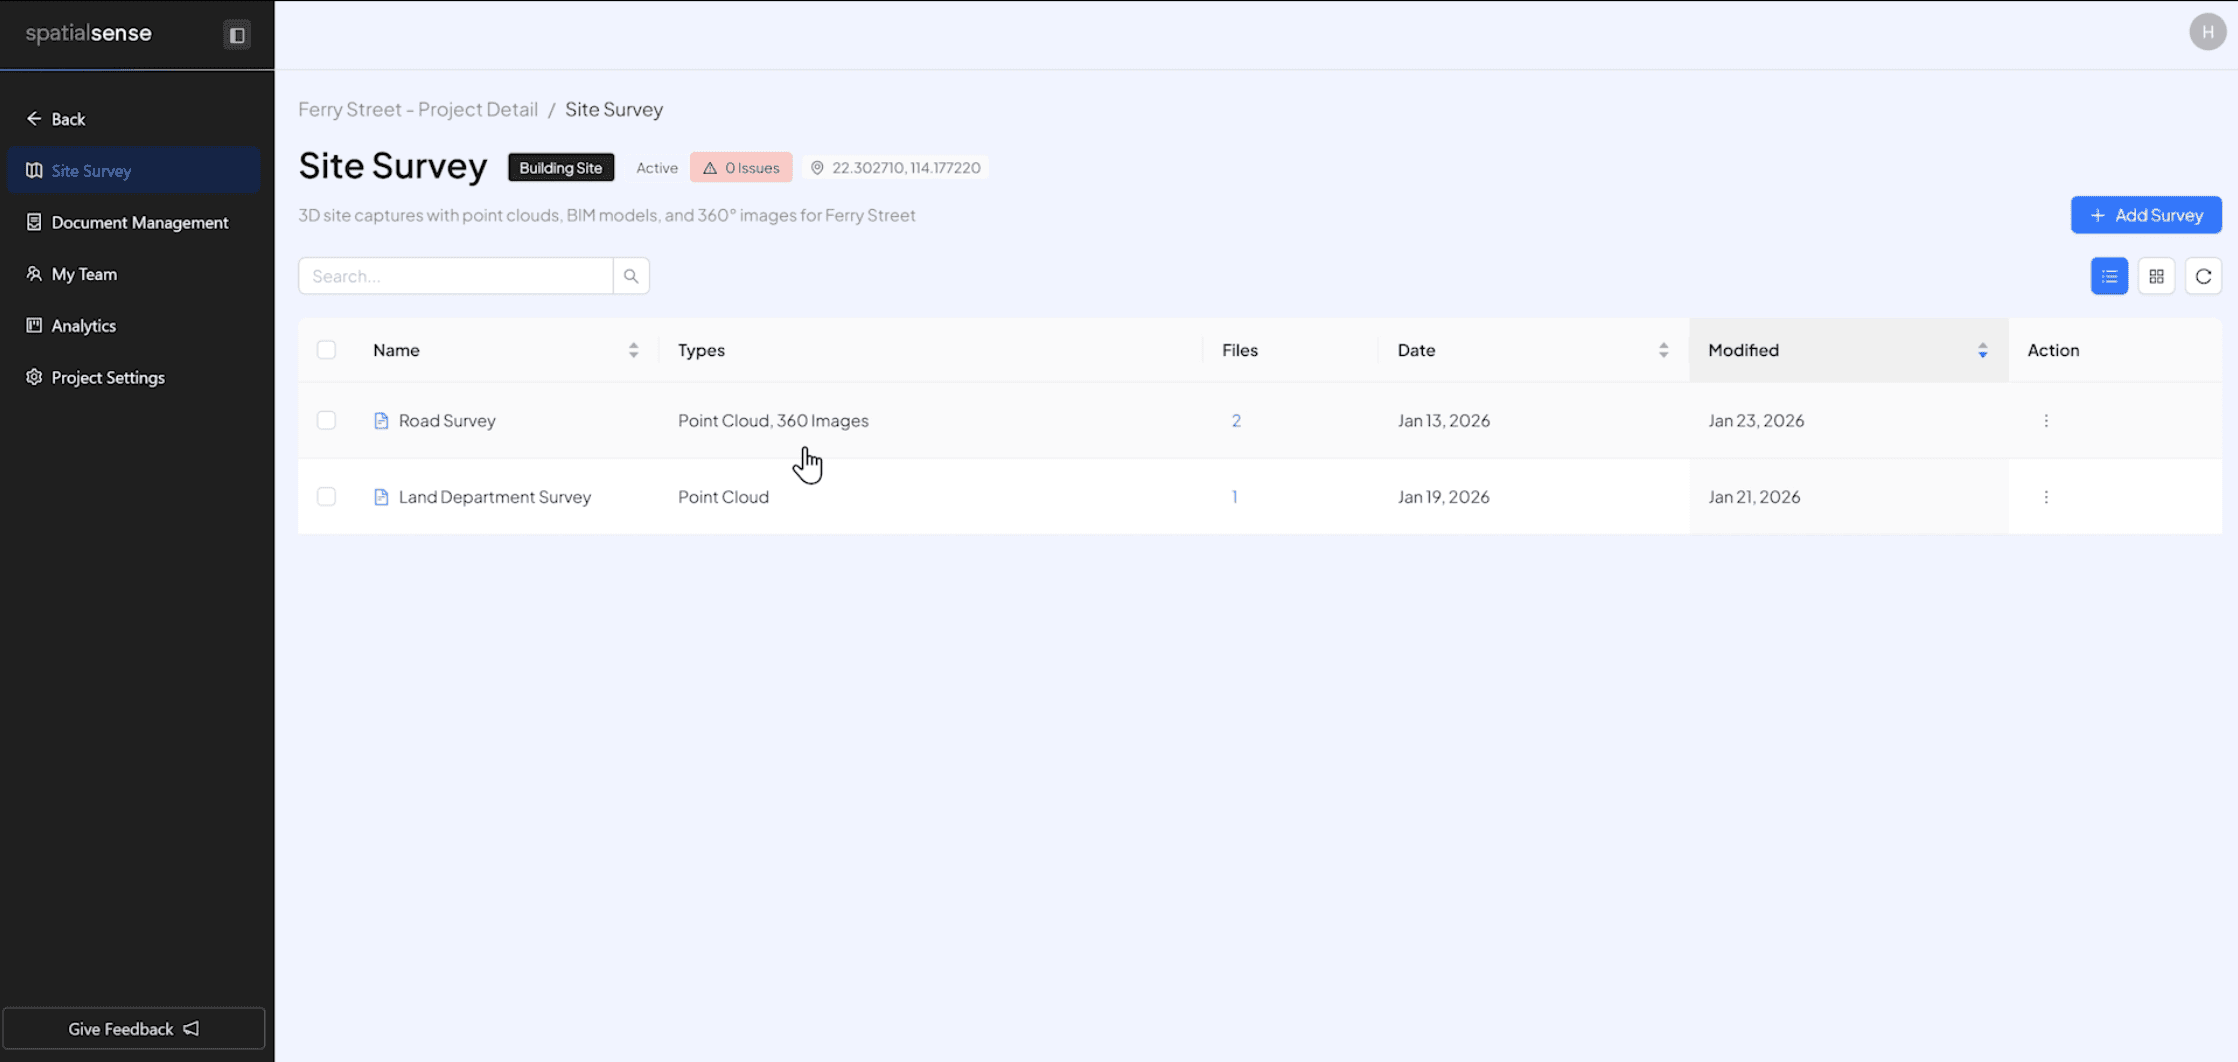
Click on any survey you want to view
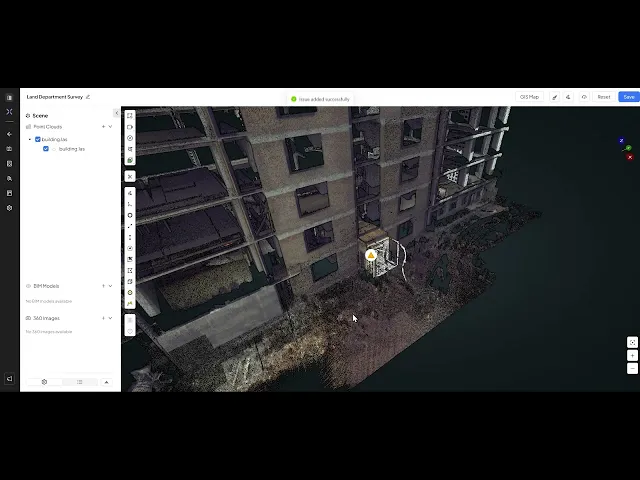
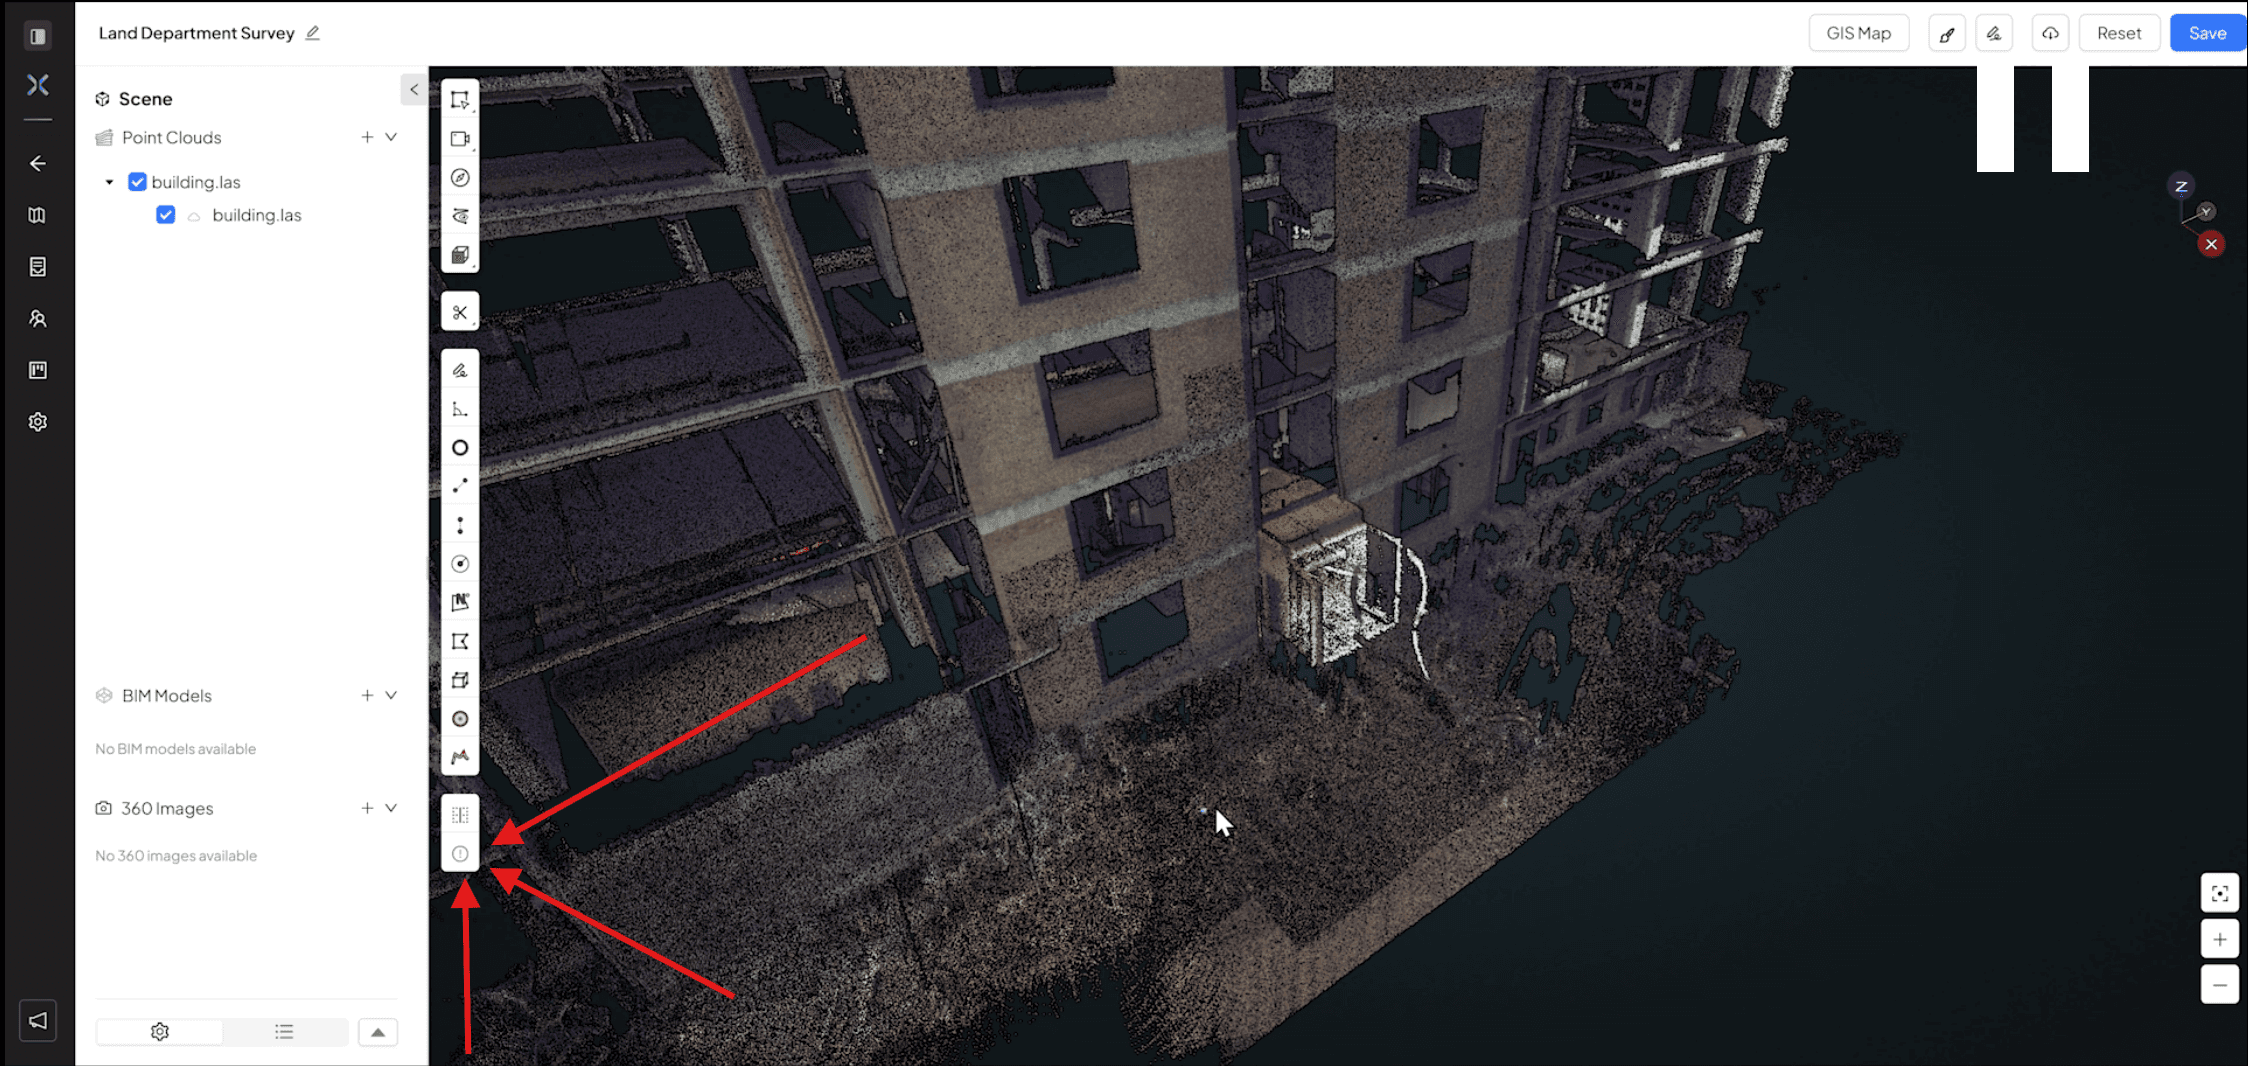
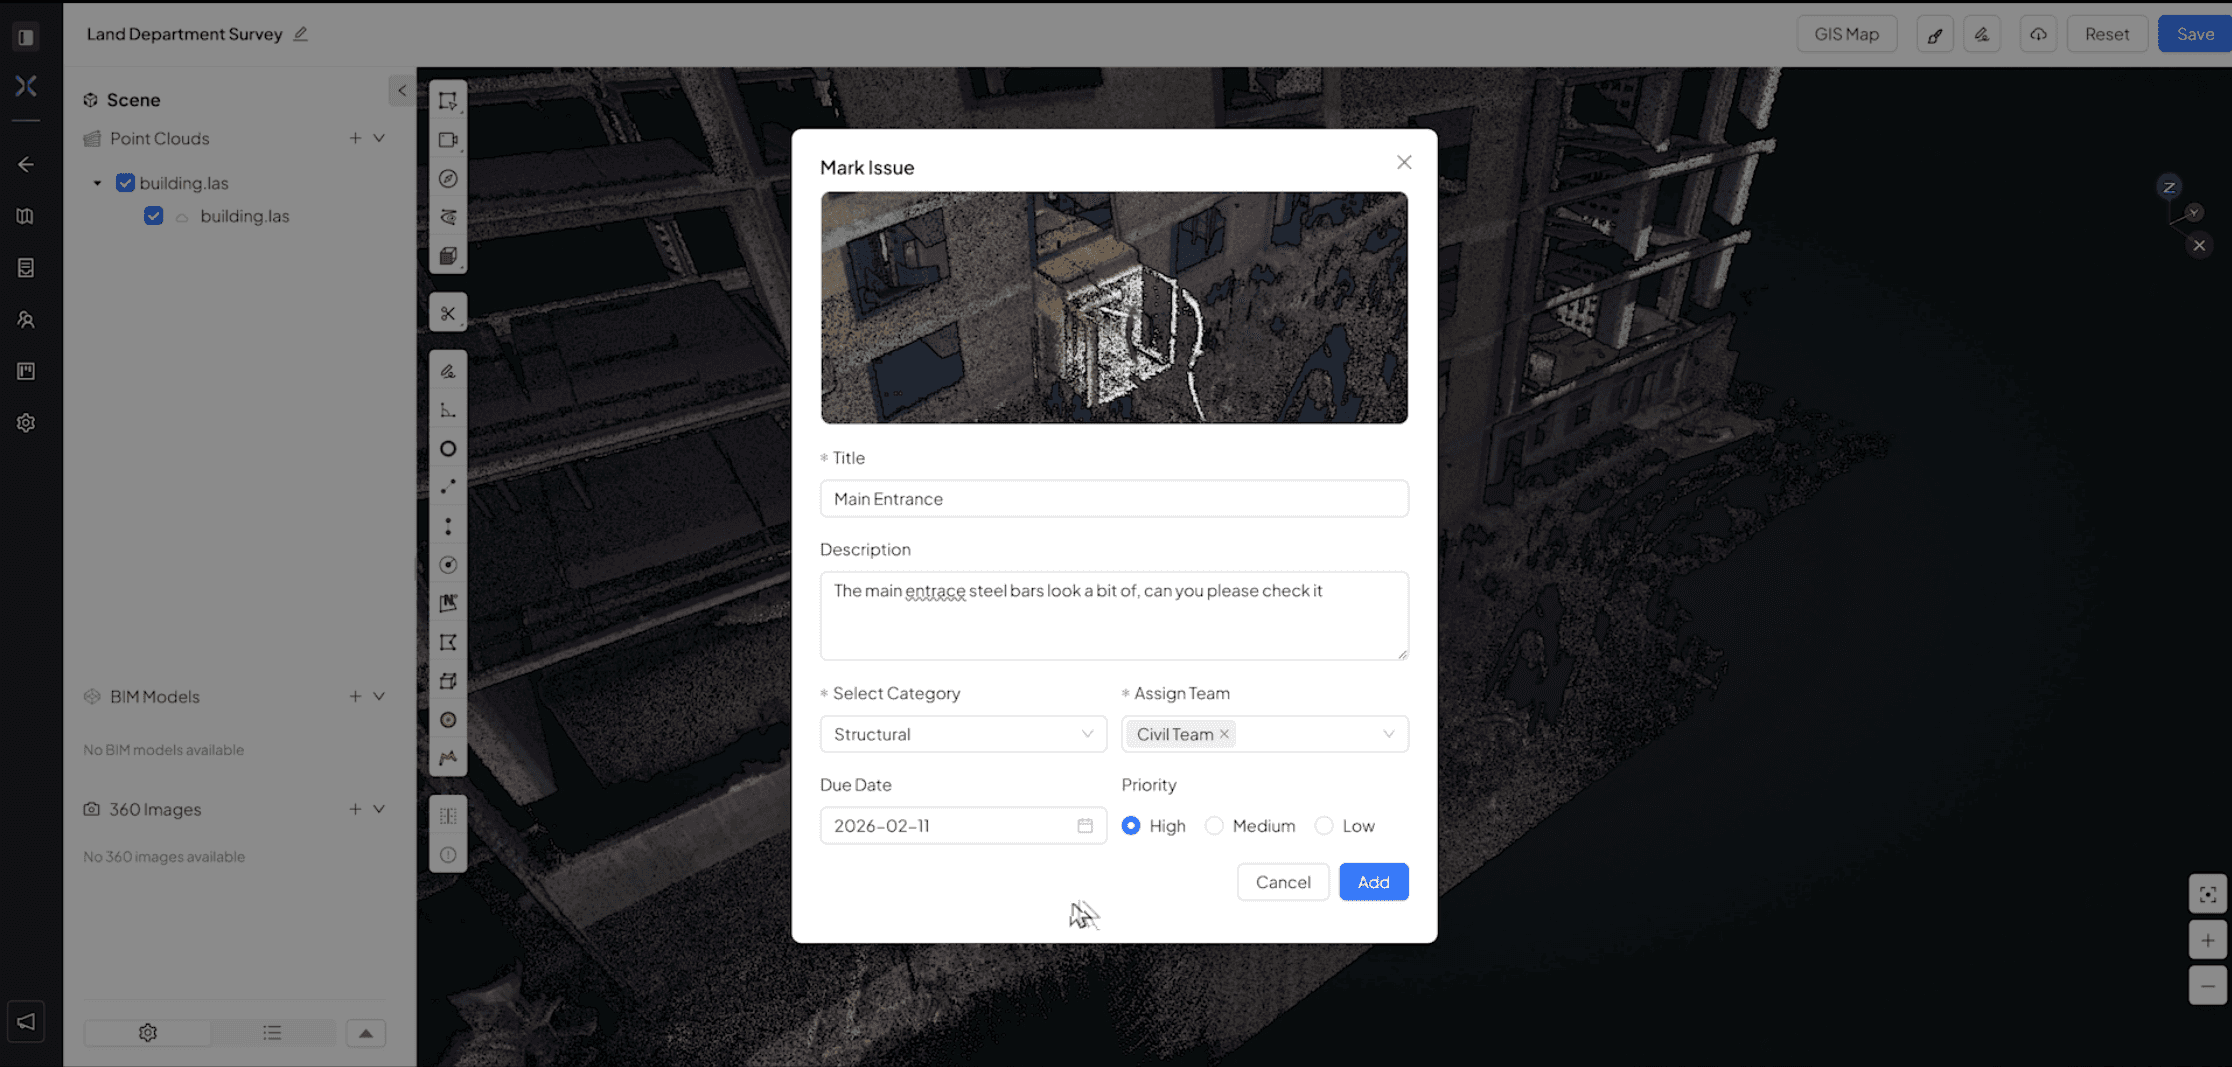
That survey will load up on the 3D viewer, navigate to the part where you want to mark and issue , click on the “Mark issue” icon in then 3D viewer navigation bar
Fill the details and Assign it to the team you want to give the issue details to
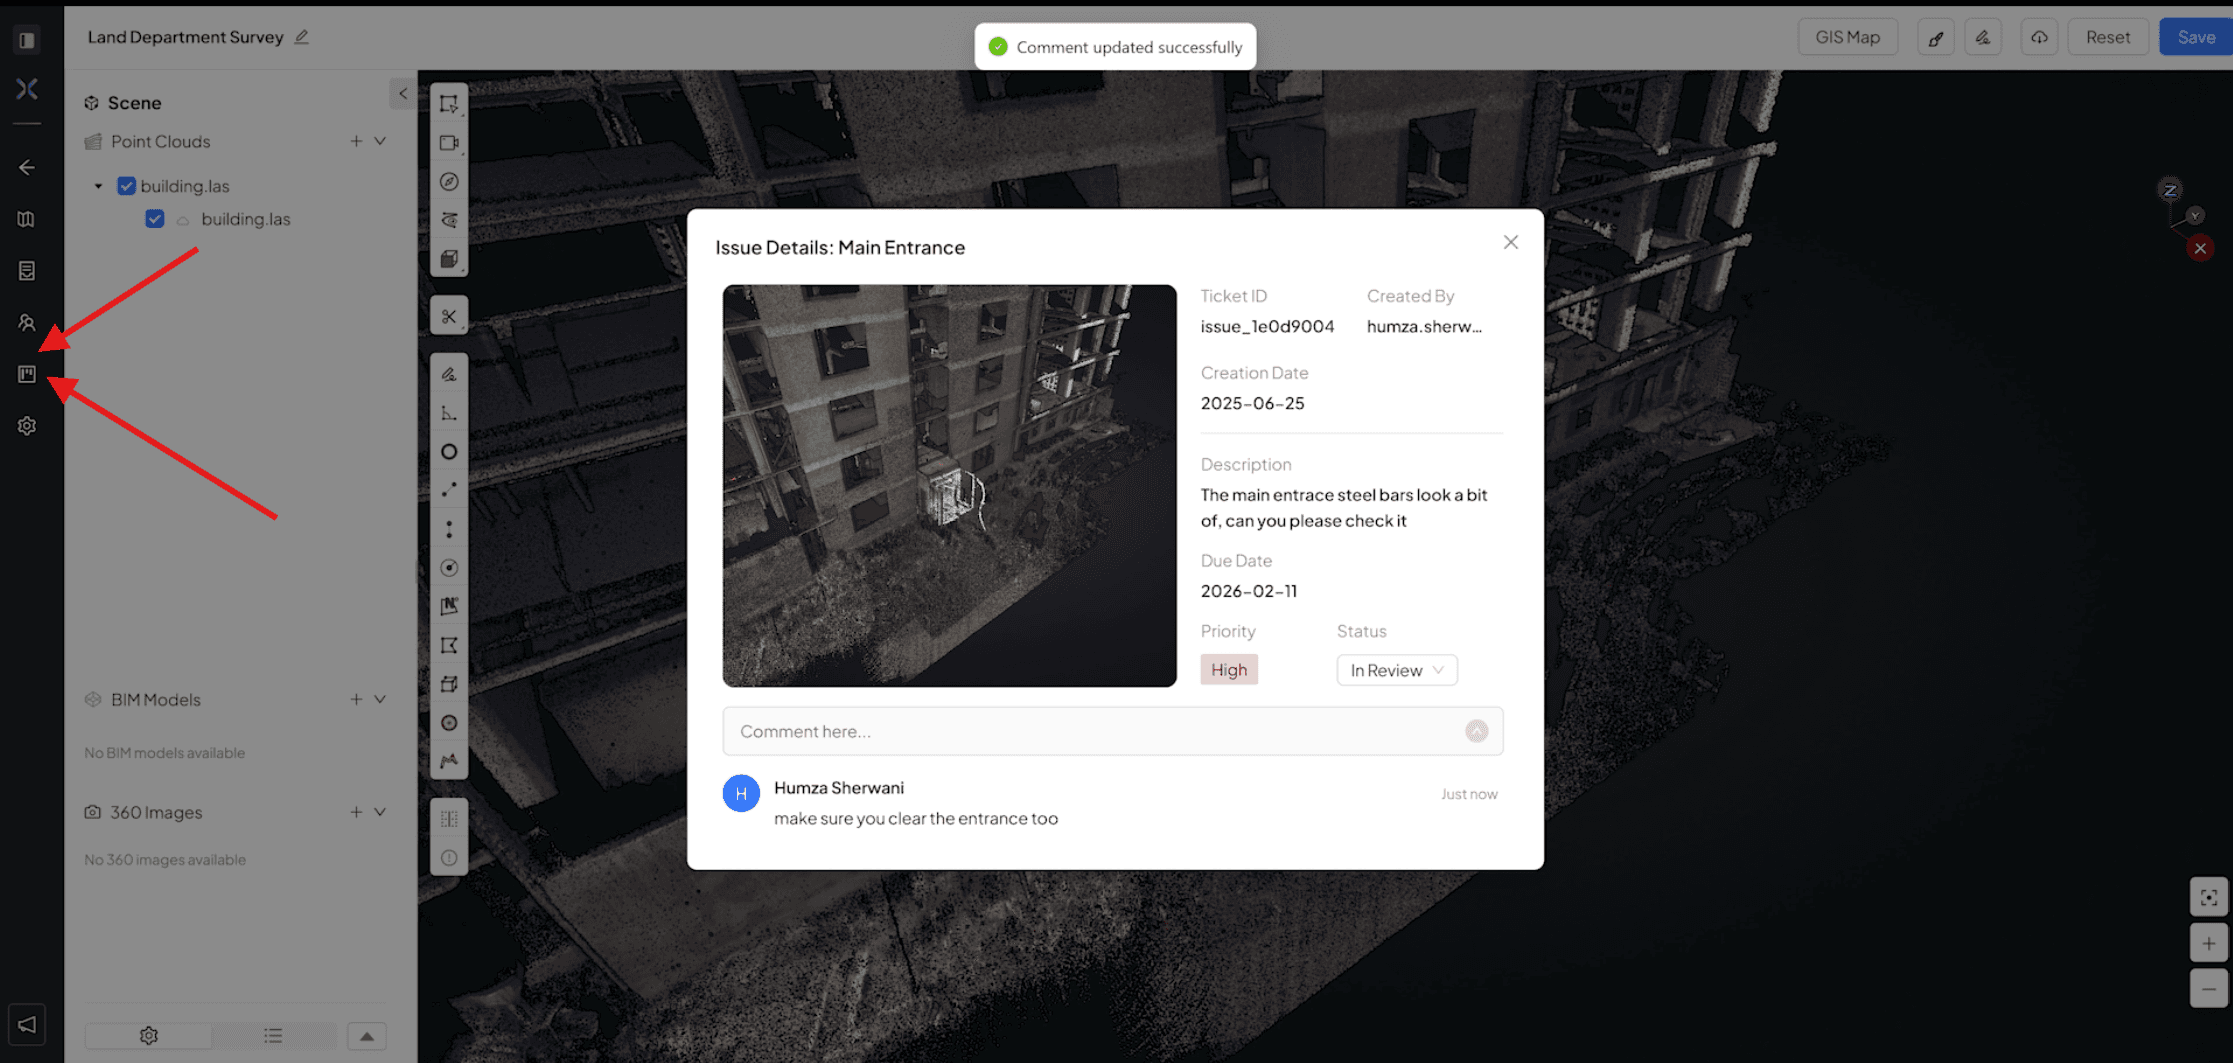
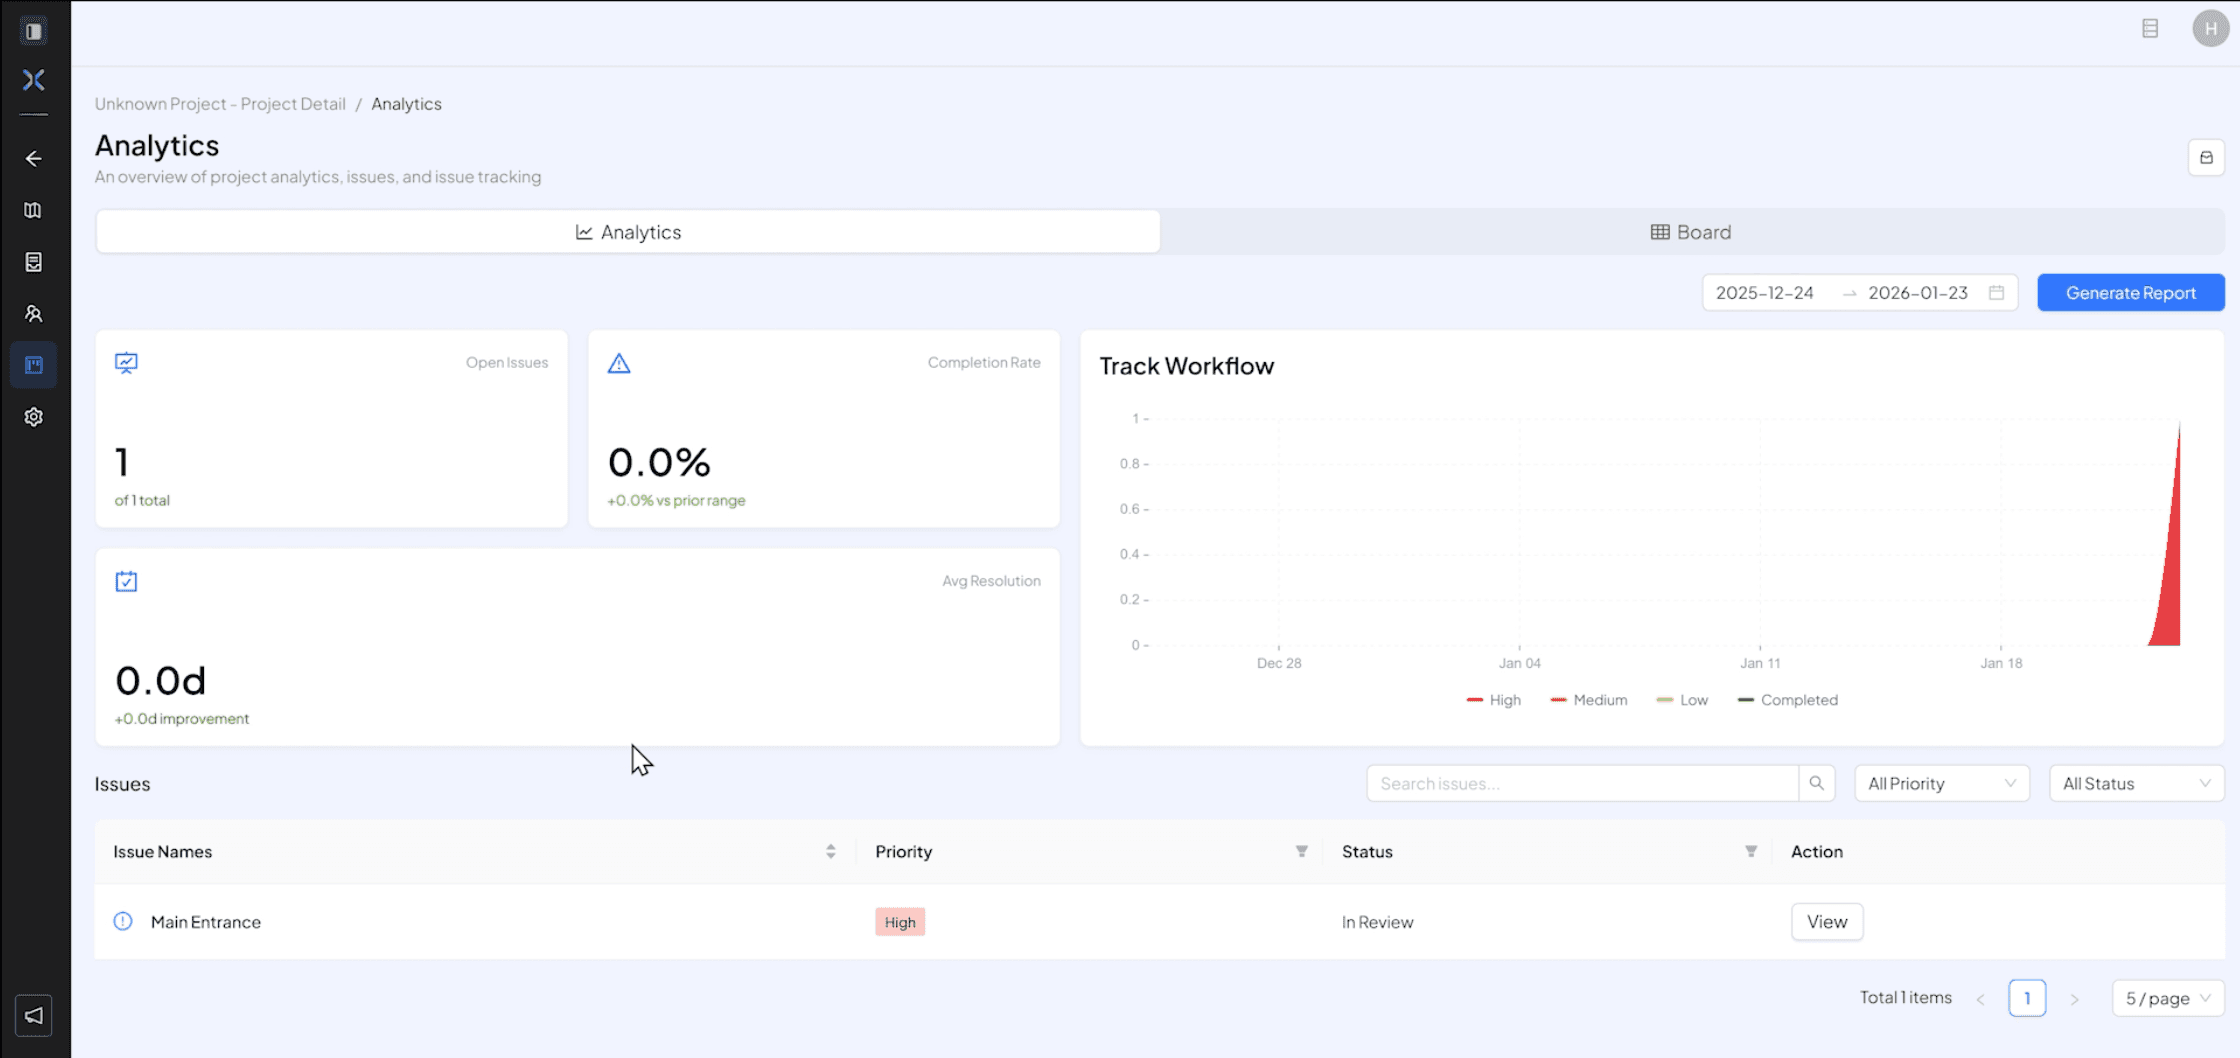
Choose the “Analytics” icon on the main dashboard to see all the issues reported
Detailed Video of Steps above