2. Upload Your First Point Cloud & BIM
By uploading your Point Cloud and BIM (Building Information Model), you’re setting the foundation for accurate coordination, clash detection, and progress tracking. Whether you're comparing a fresh laser scan to the master model or preparing for a site walkthrough, this is the first step toward a true digital twin.
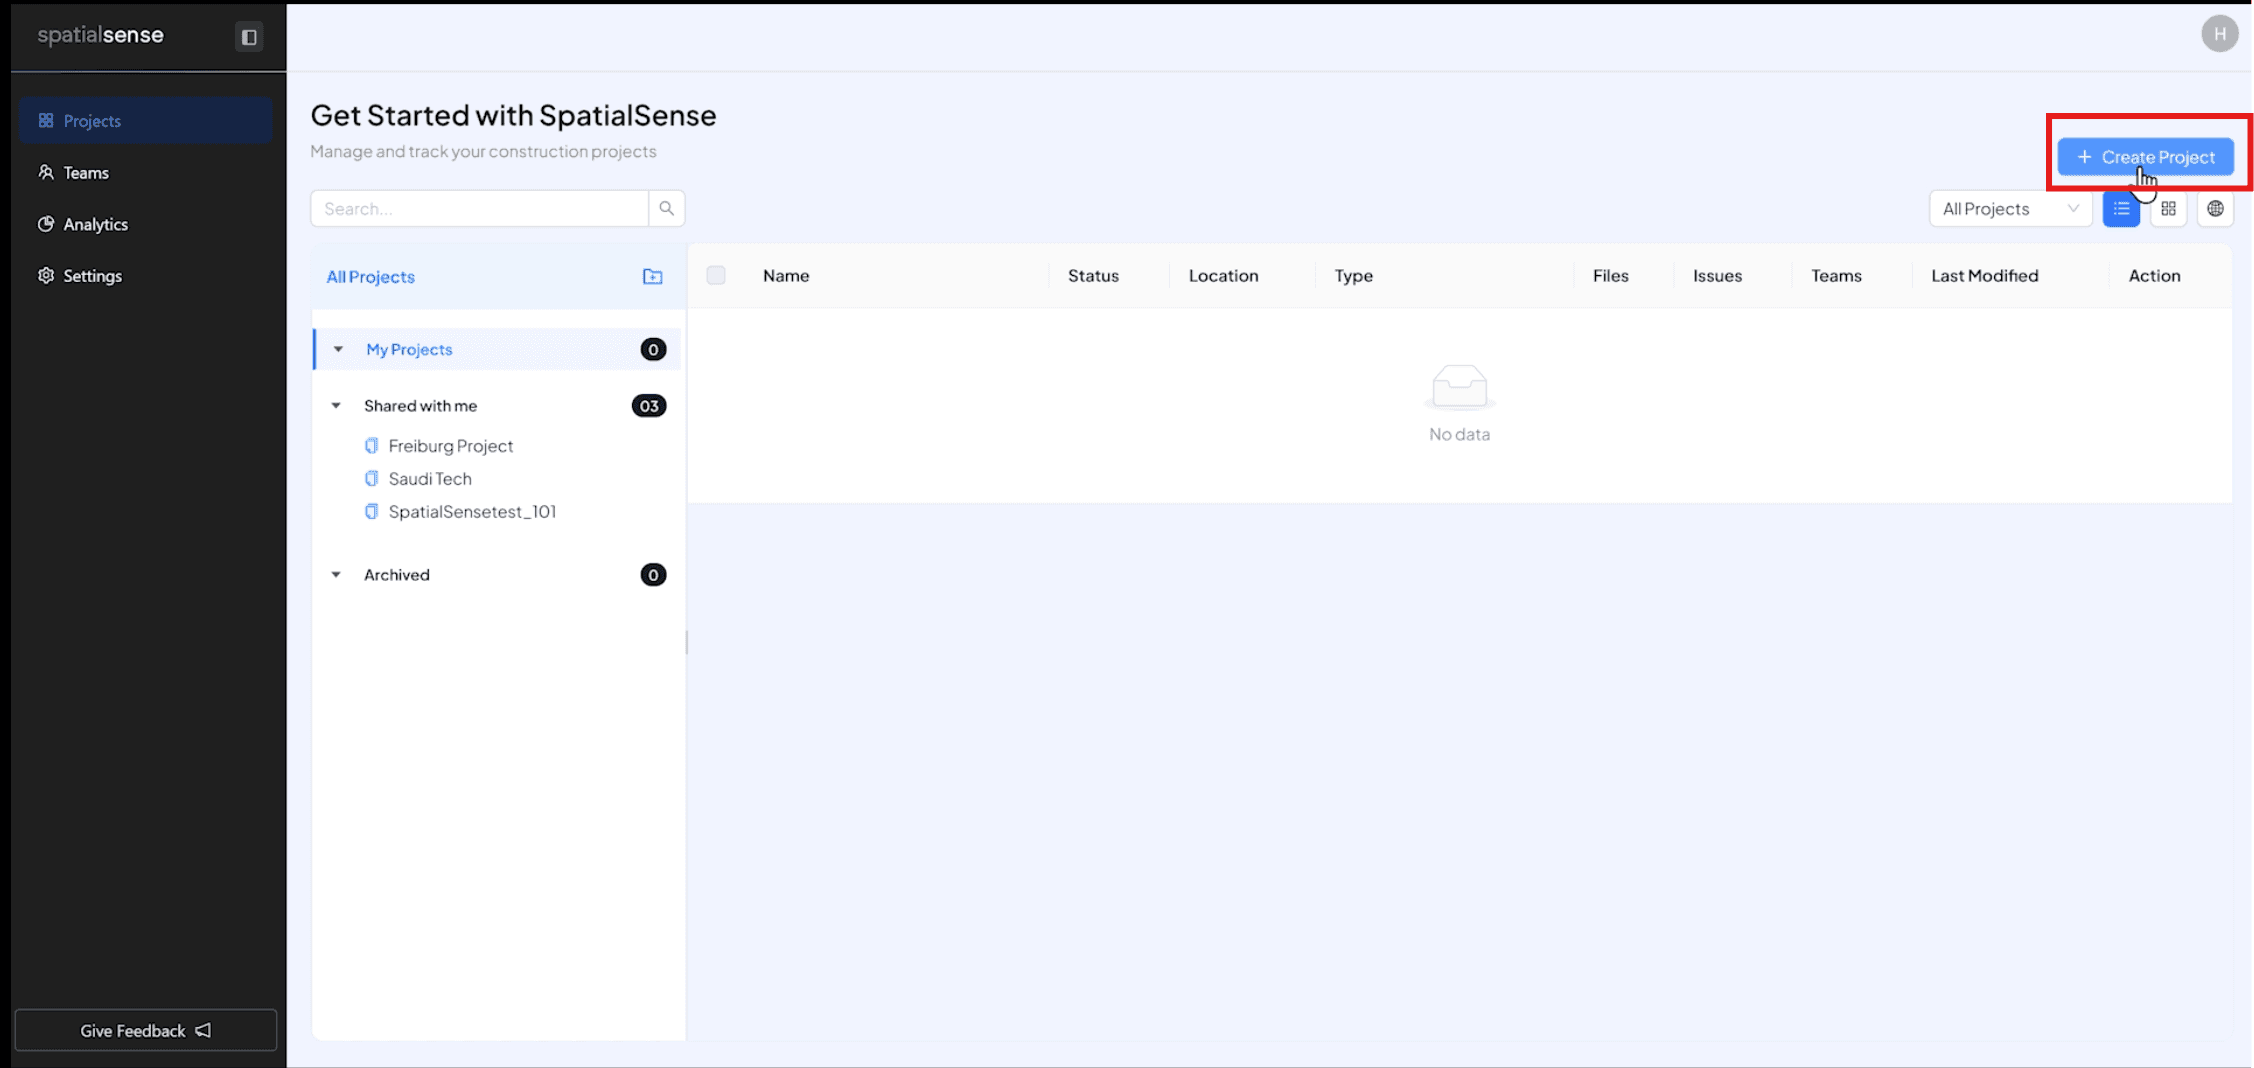
Click on “Create Project”
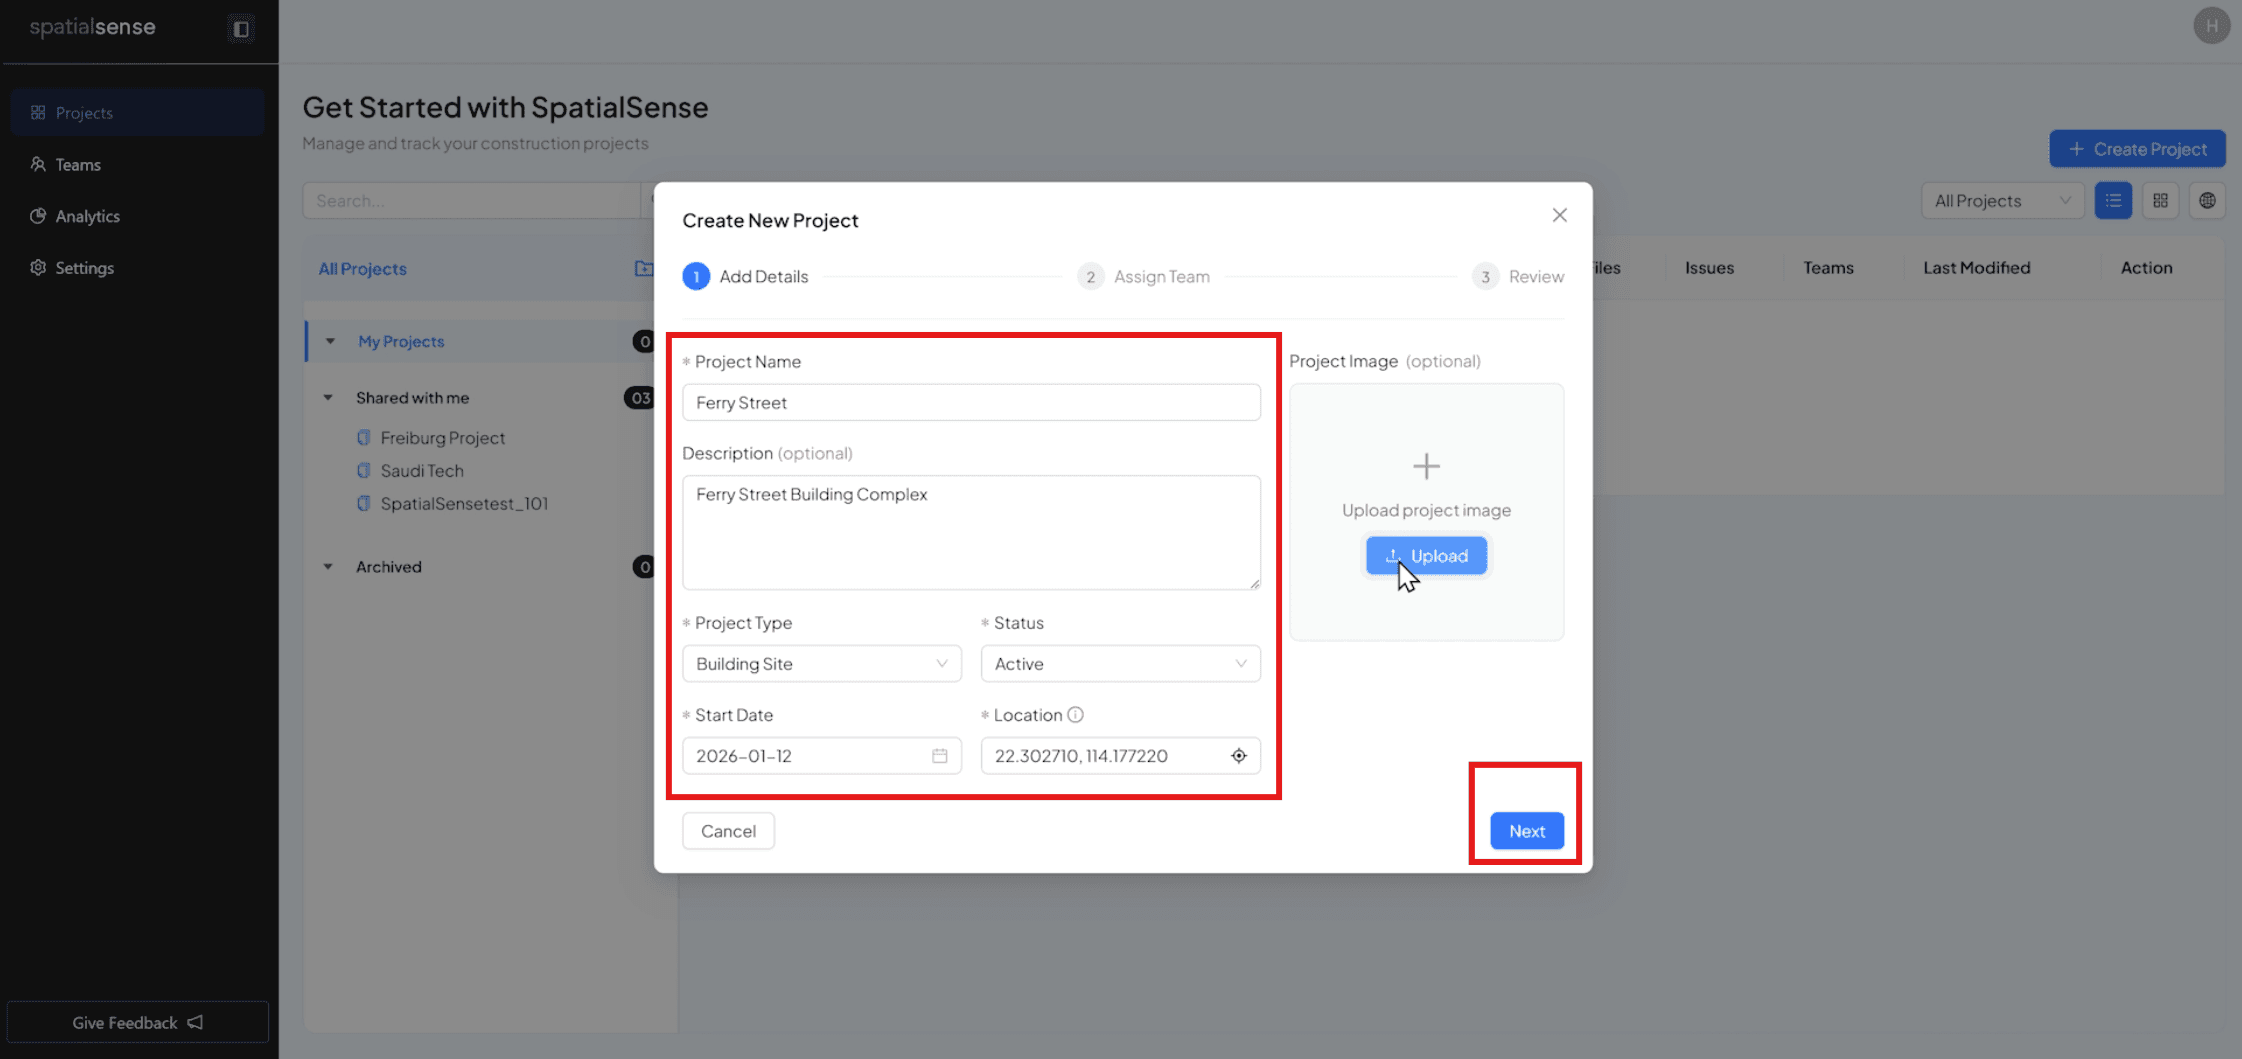
Add the project details then Press “Next”
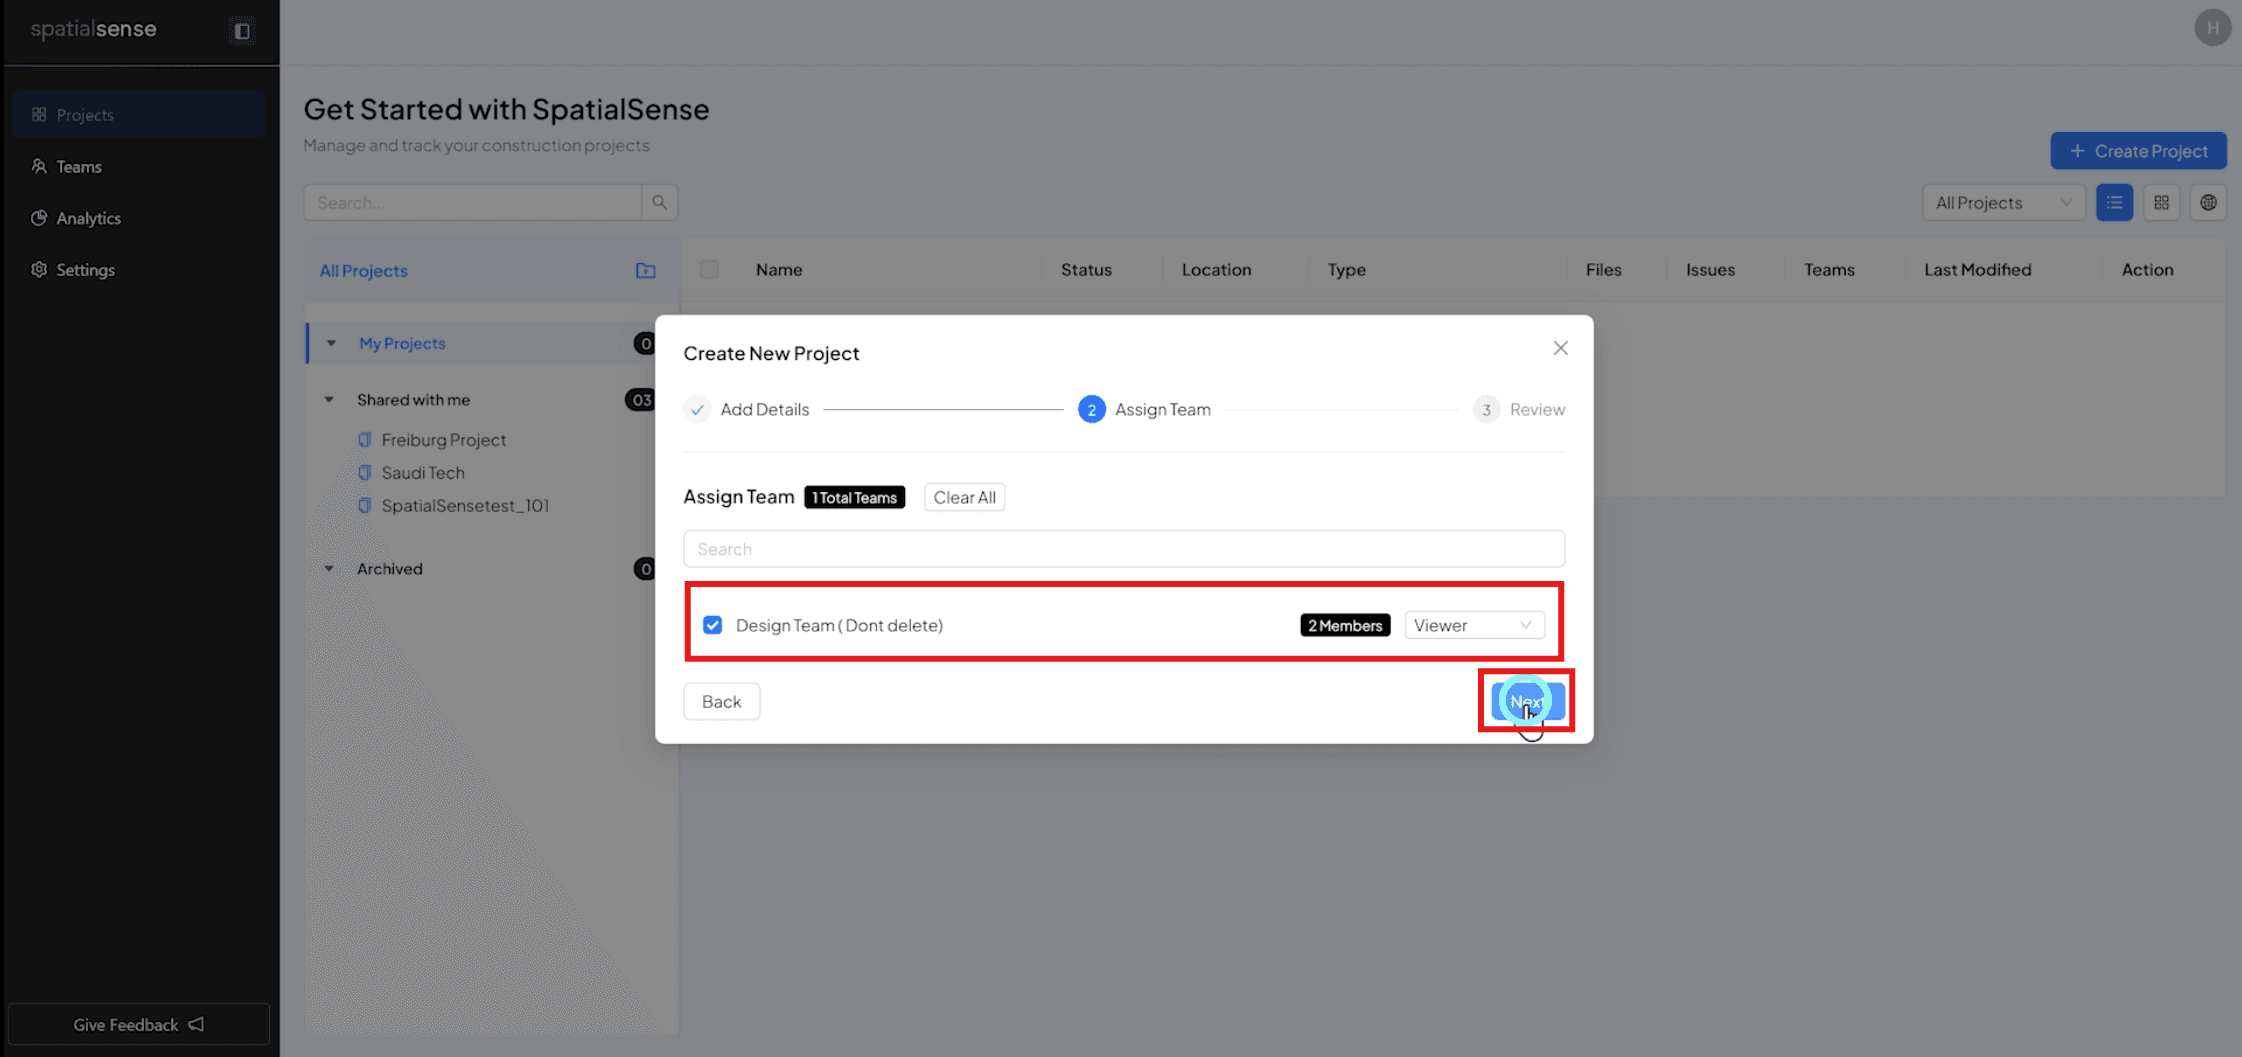
Assign the project to team if any, and then press “Next”
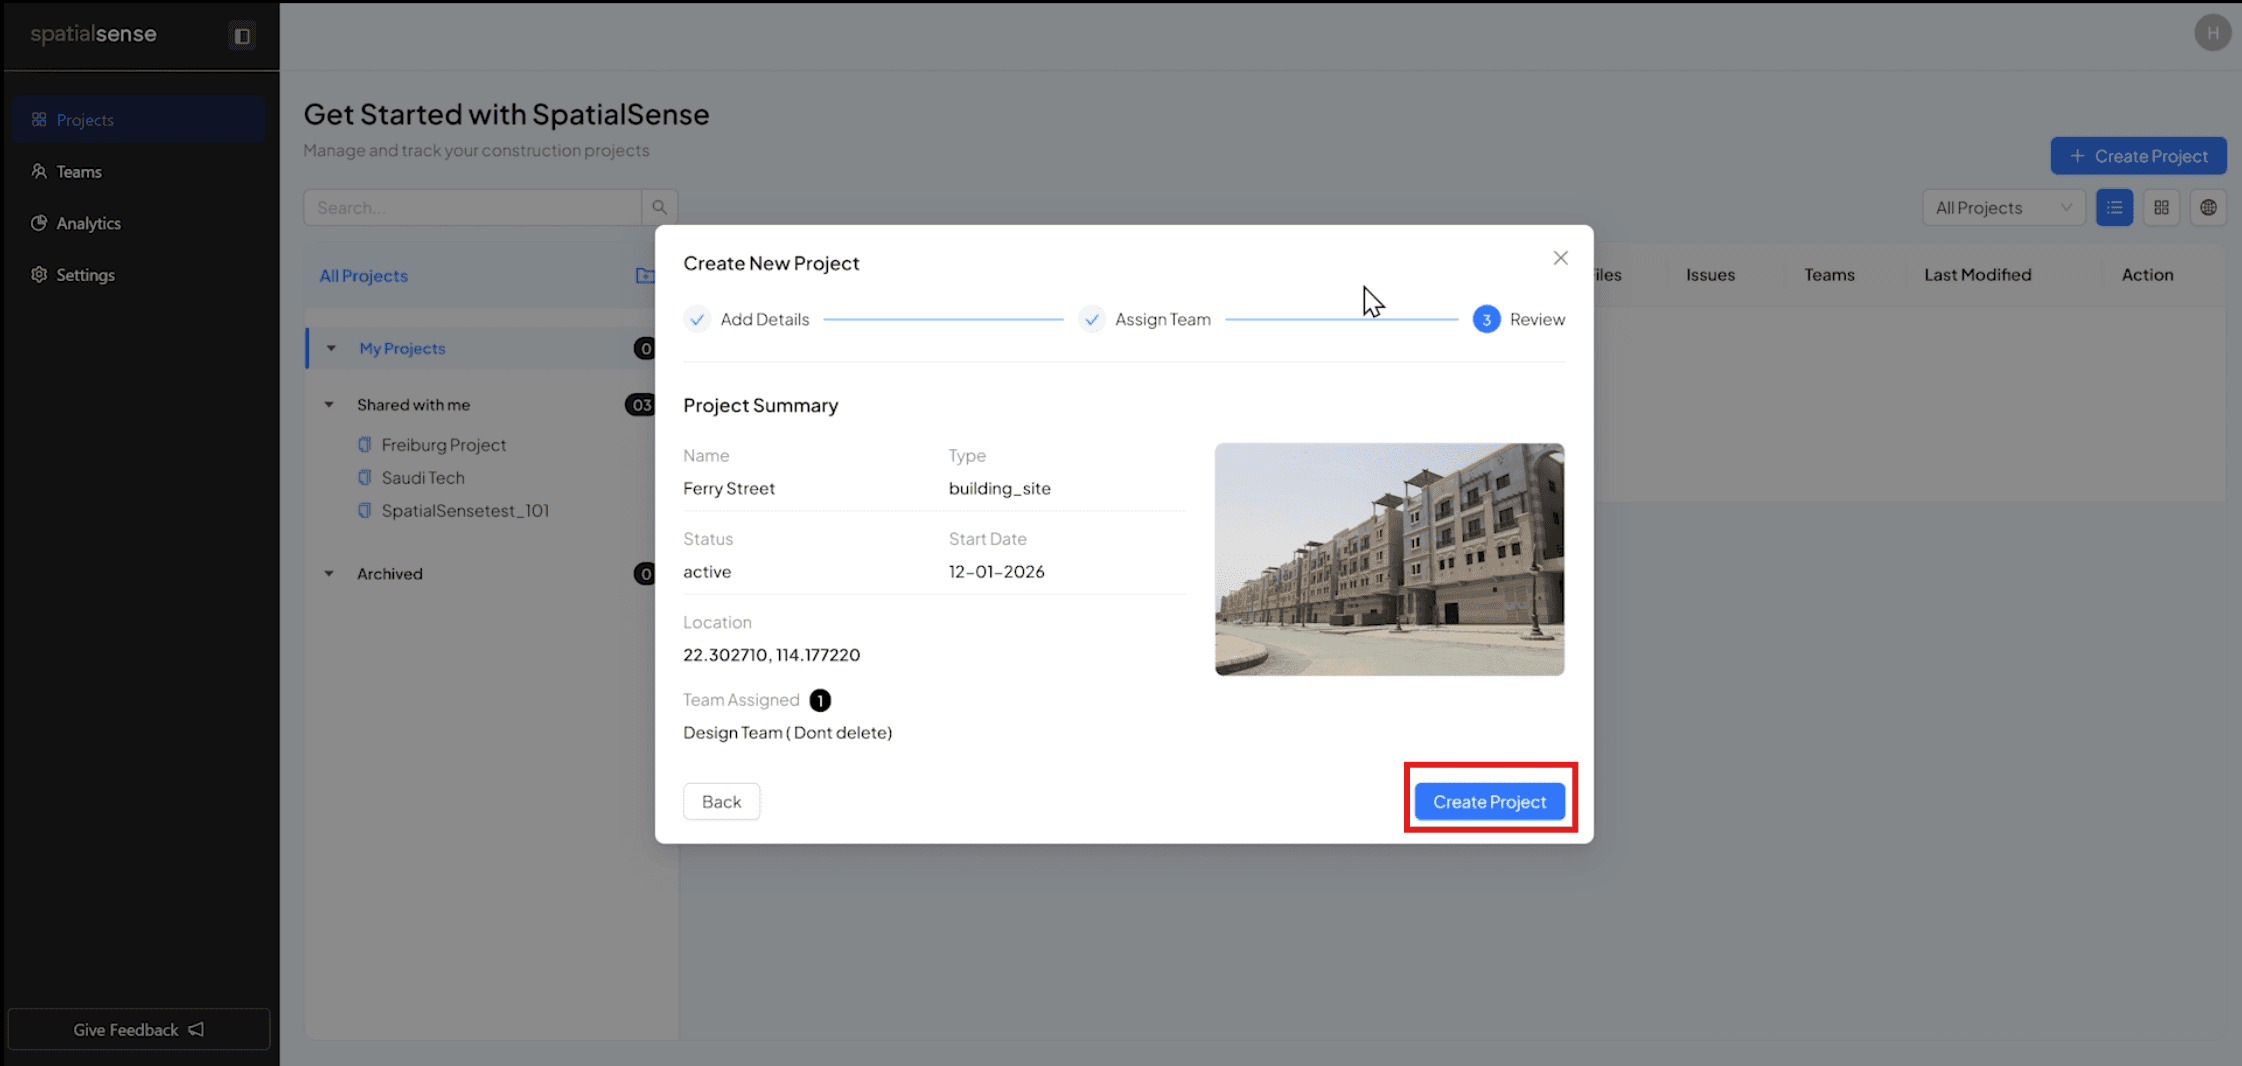
Review the added the details if correct then press "Create Project”
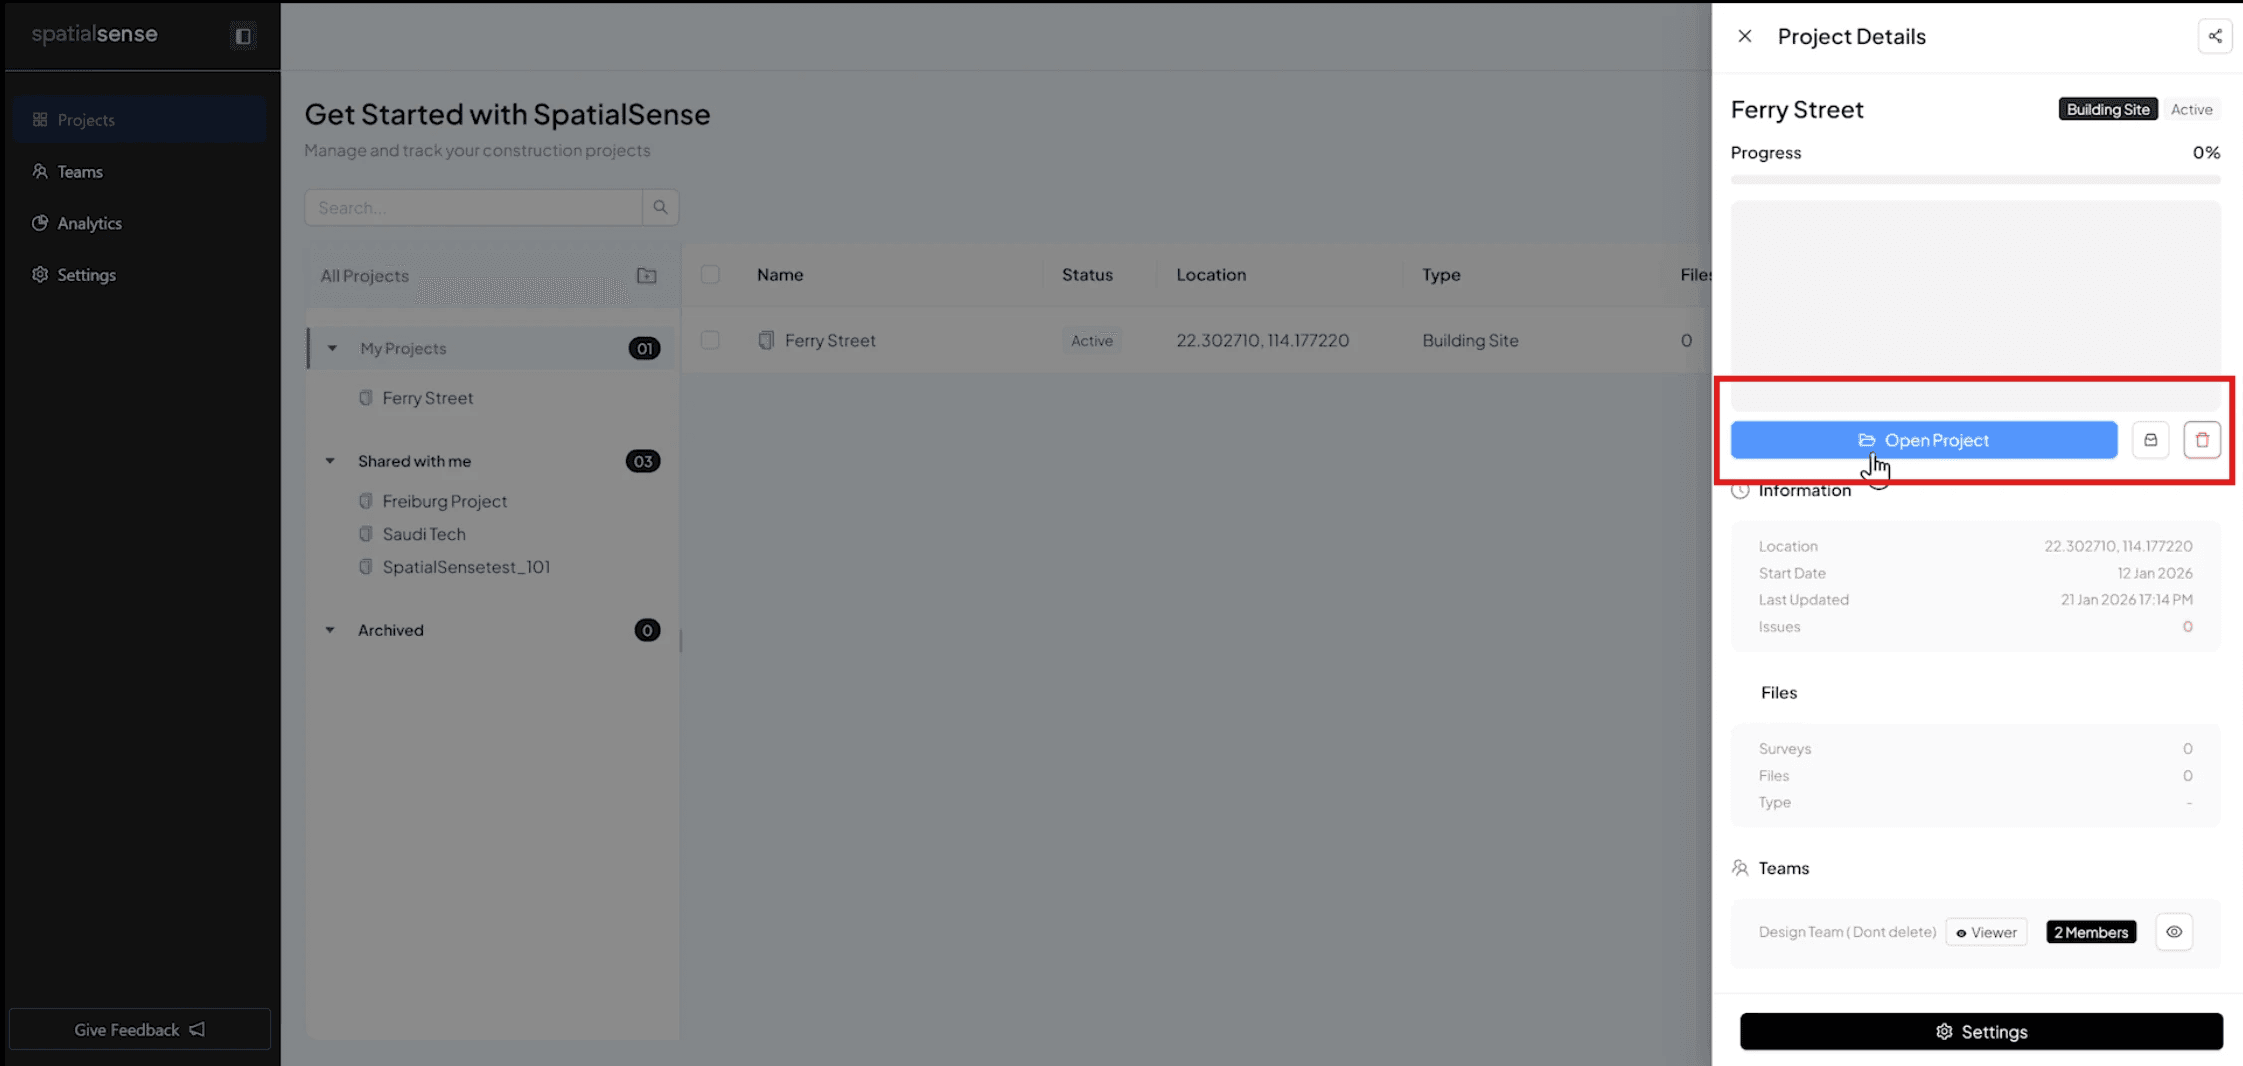
Click on the project name and the click on the “ Open project” to open the project and it details
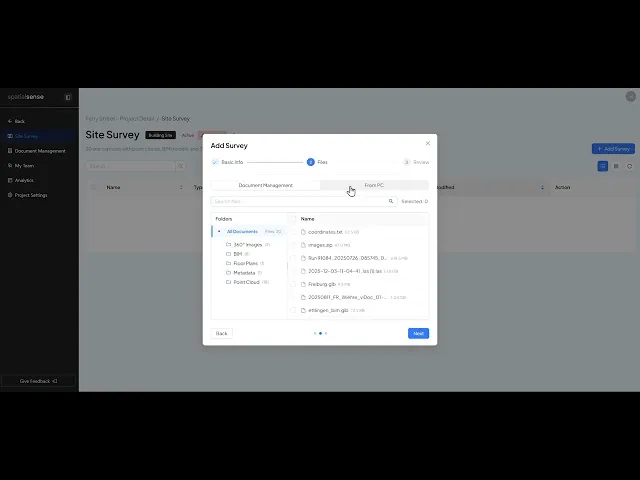
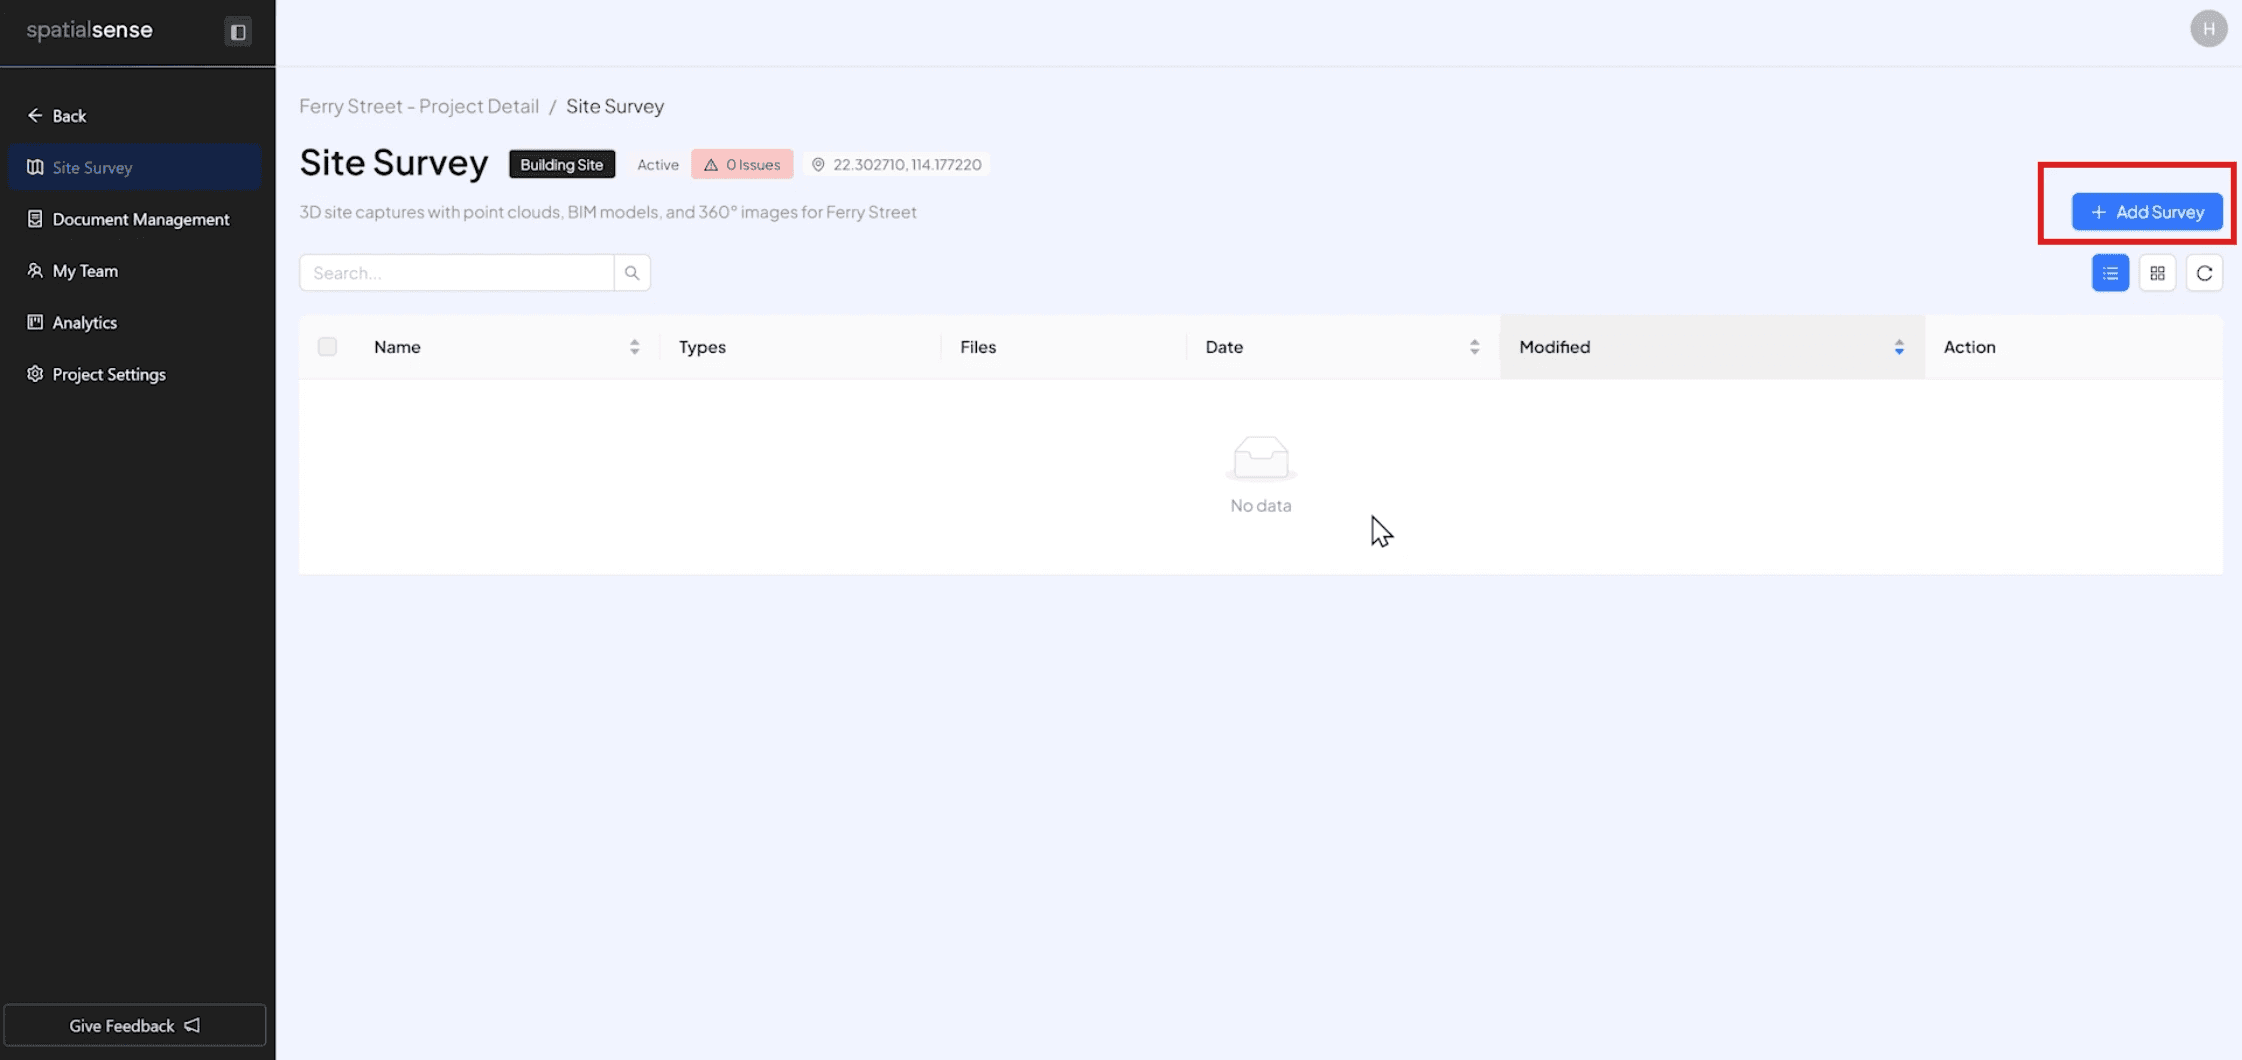
Click on “ Add survey” to survey data for the project
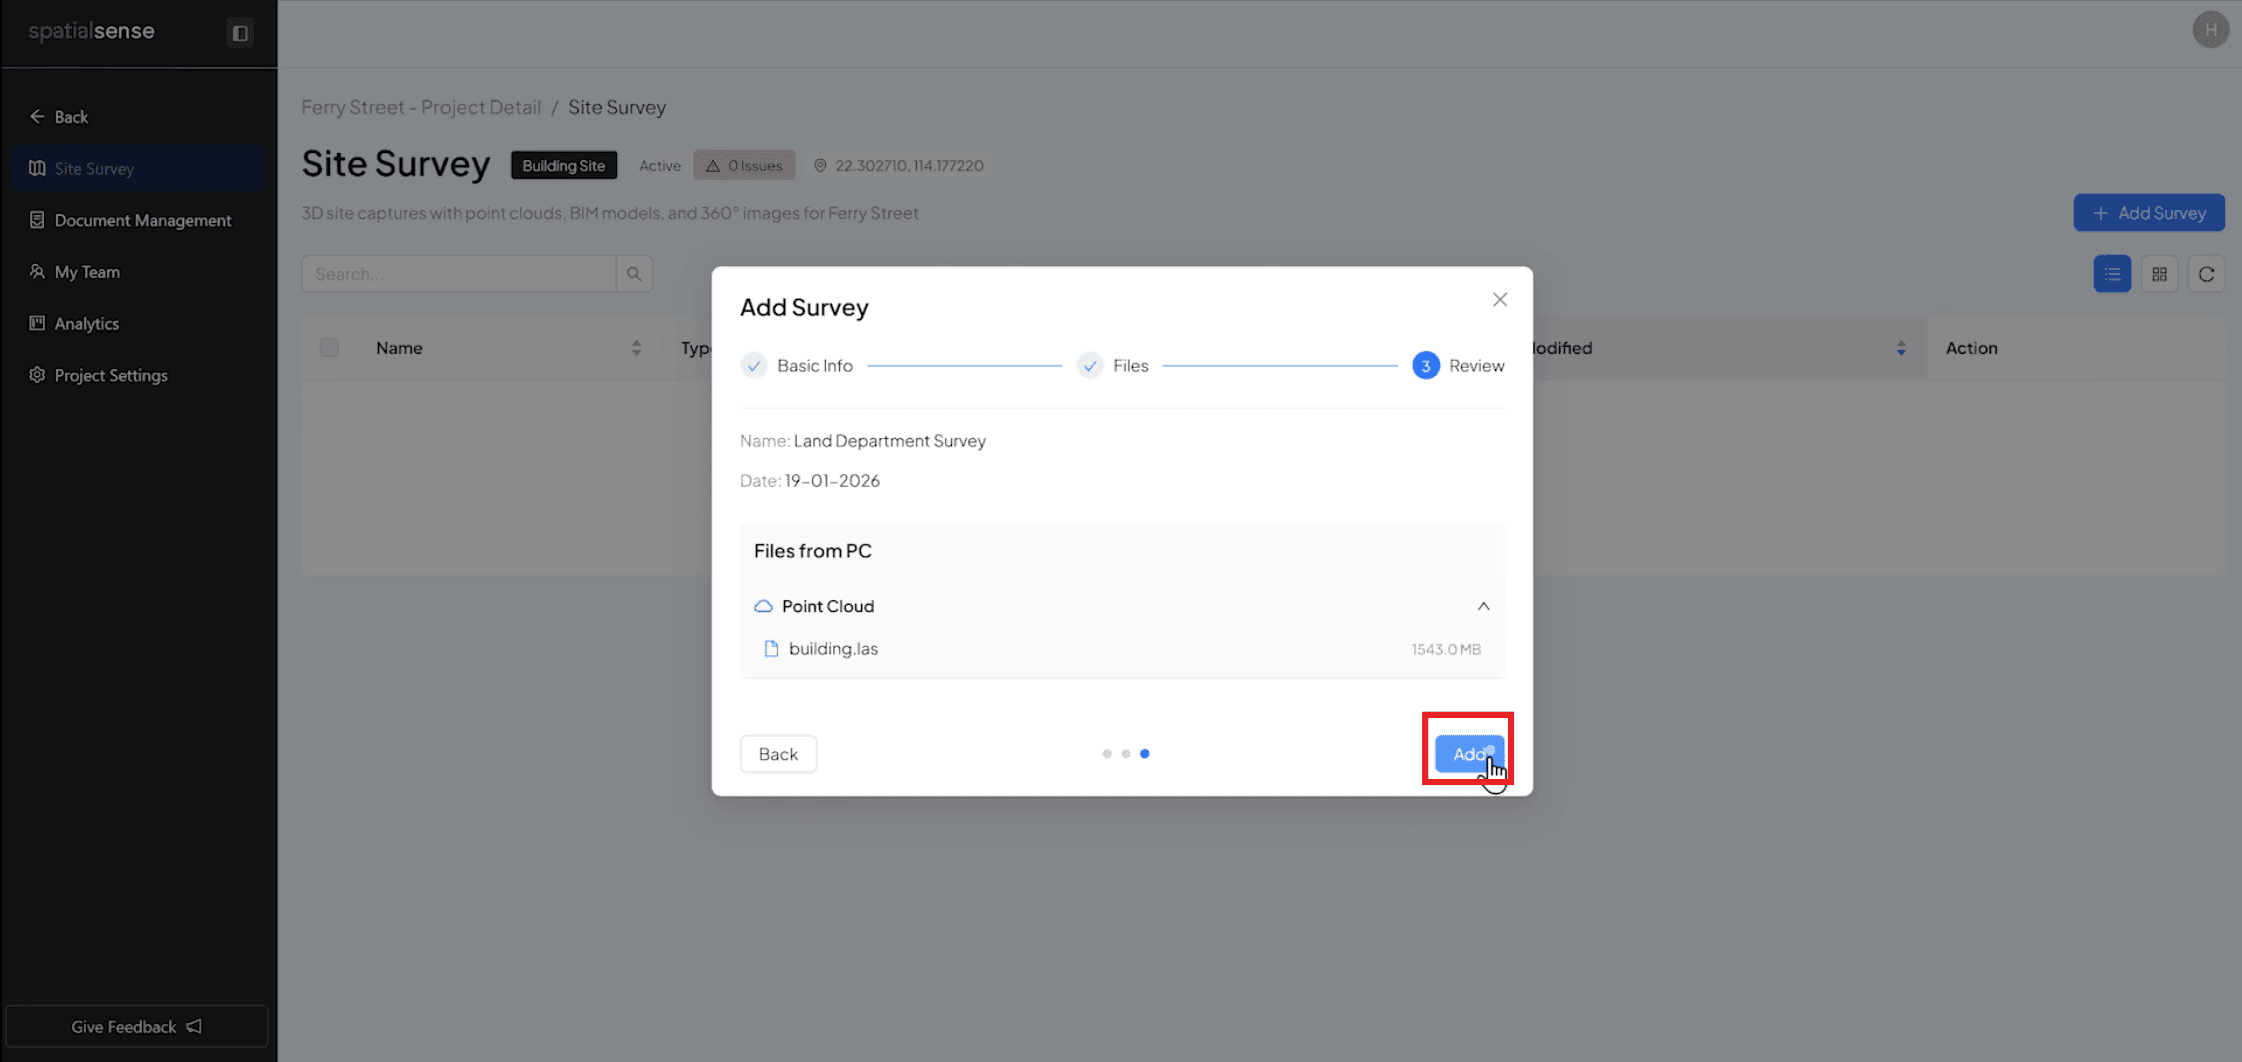
Add Basic info and upload new files from your PC or add files from your document management system if you have any other files uploaded to the portal
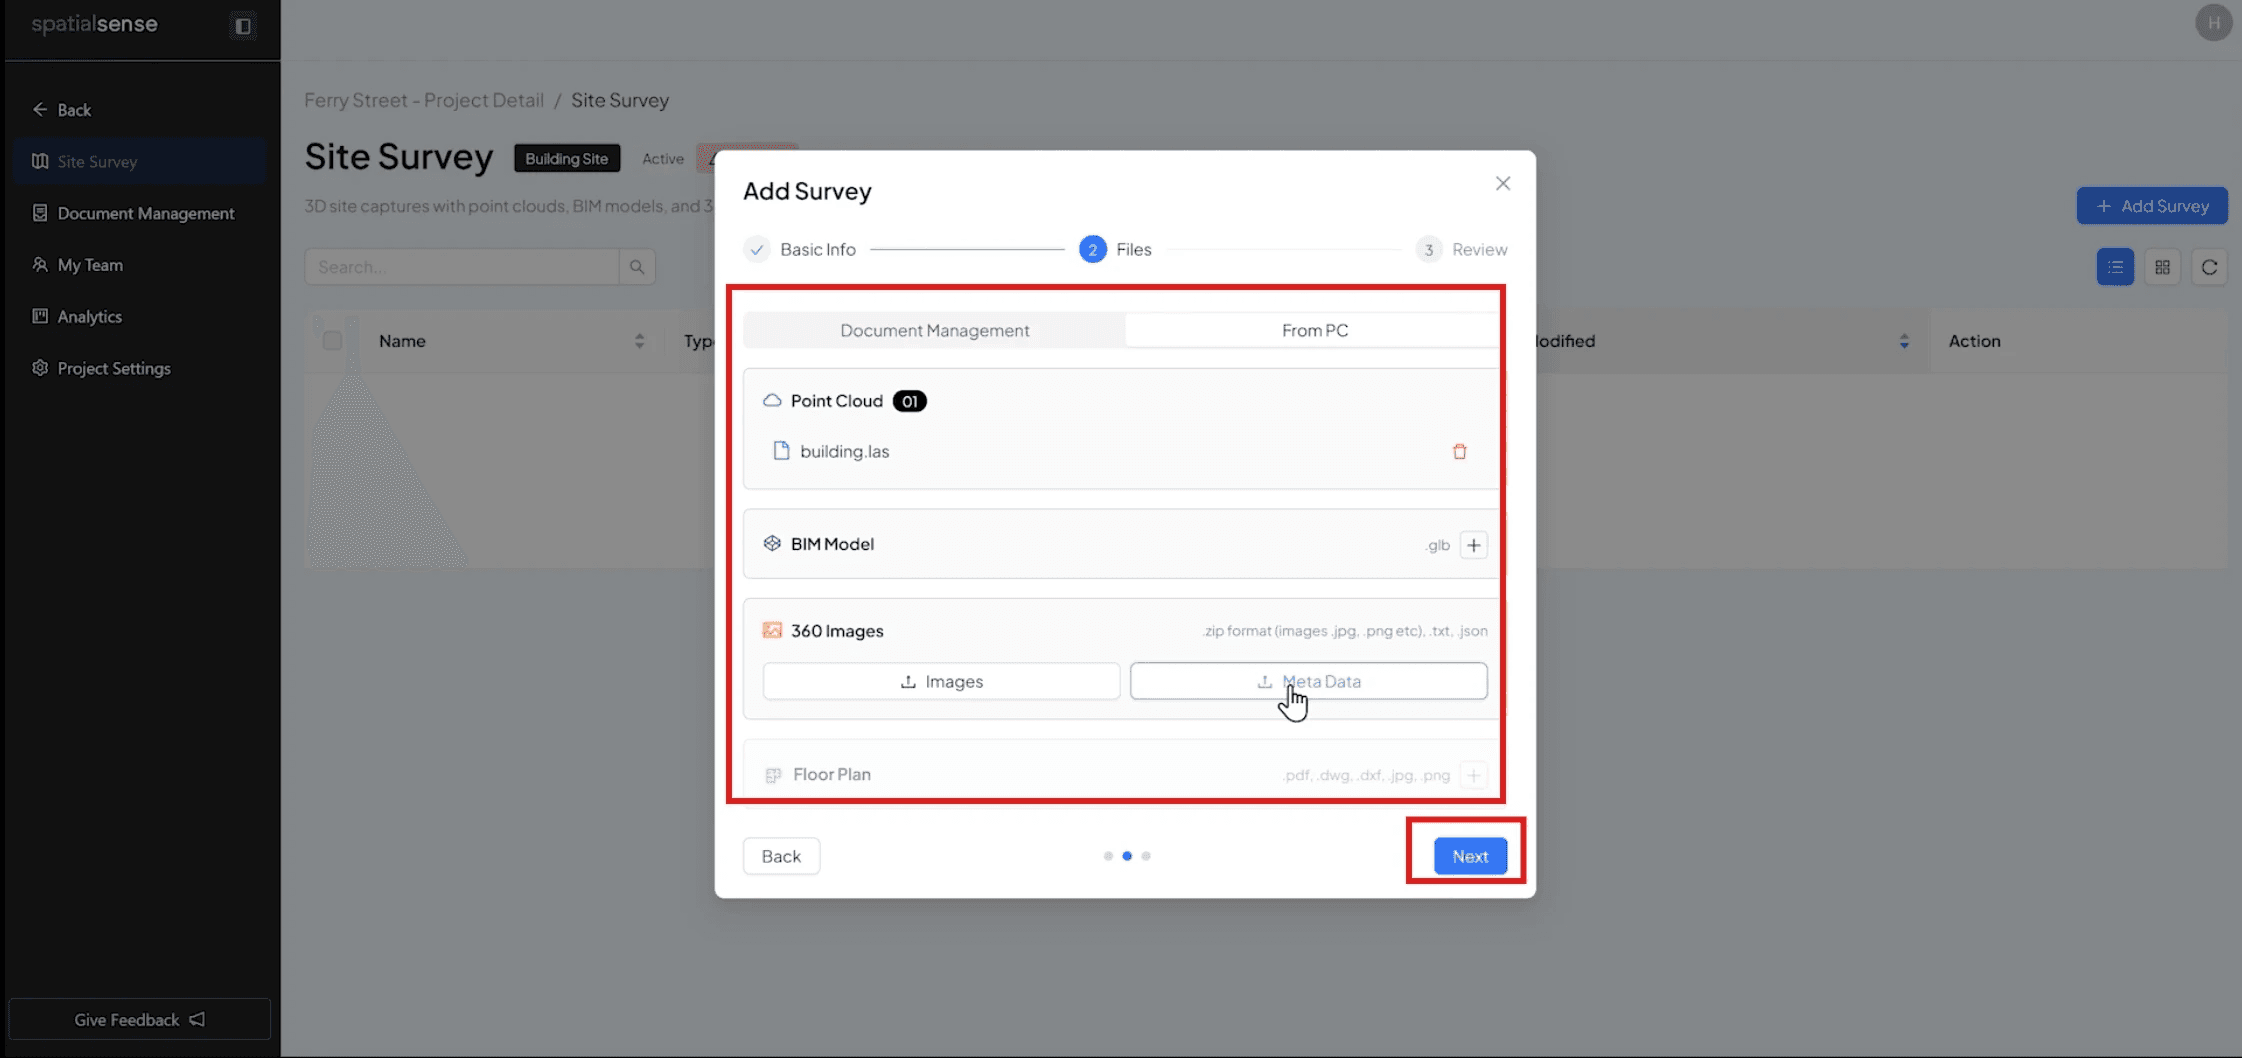
Click on “Next”, review the data and then press “ Add” to save the save
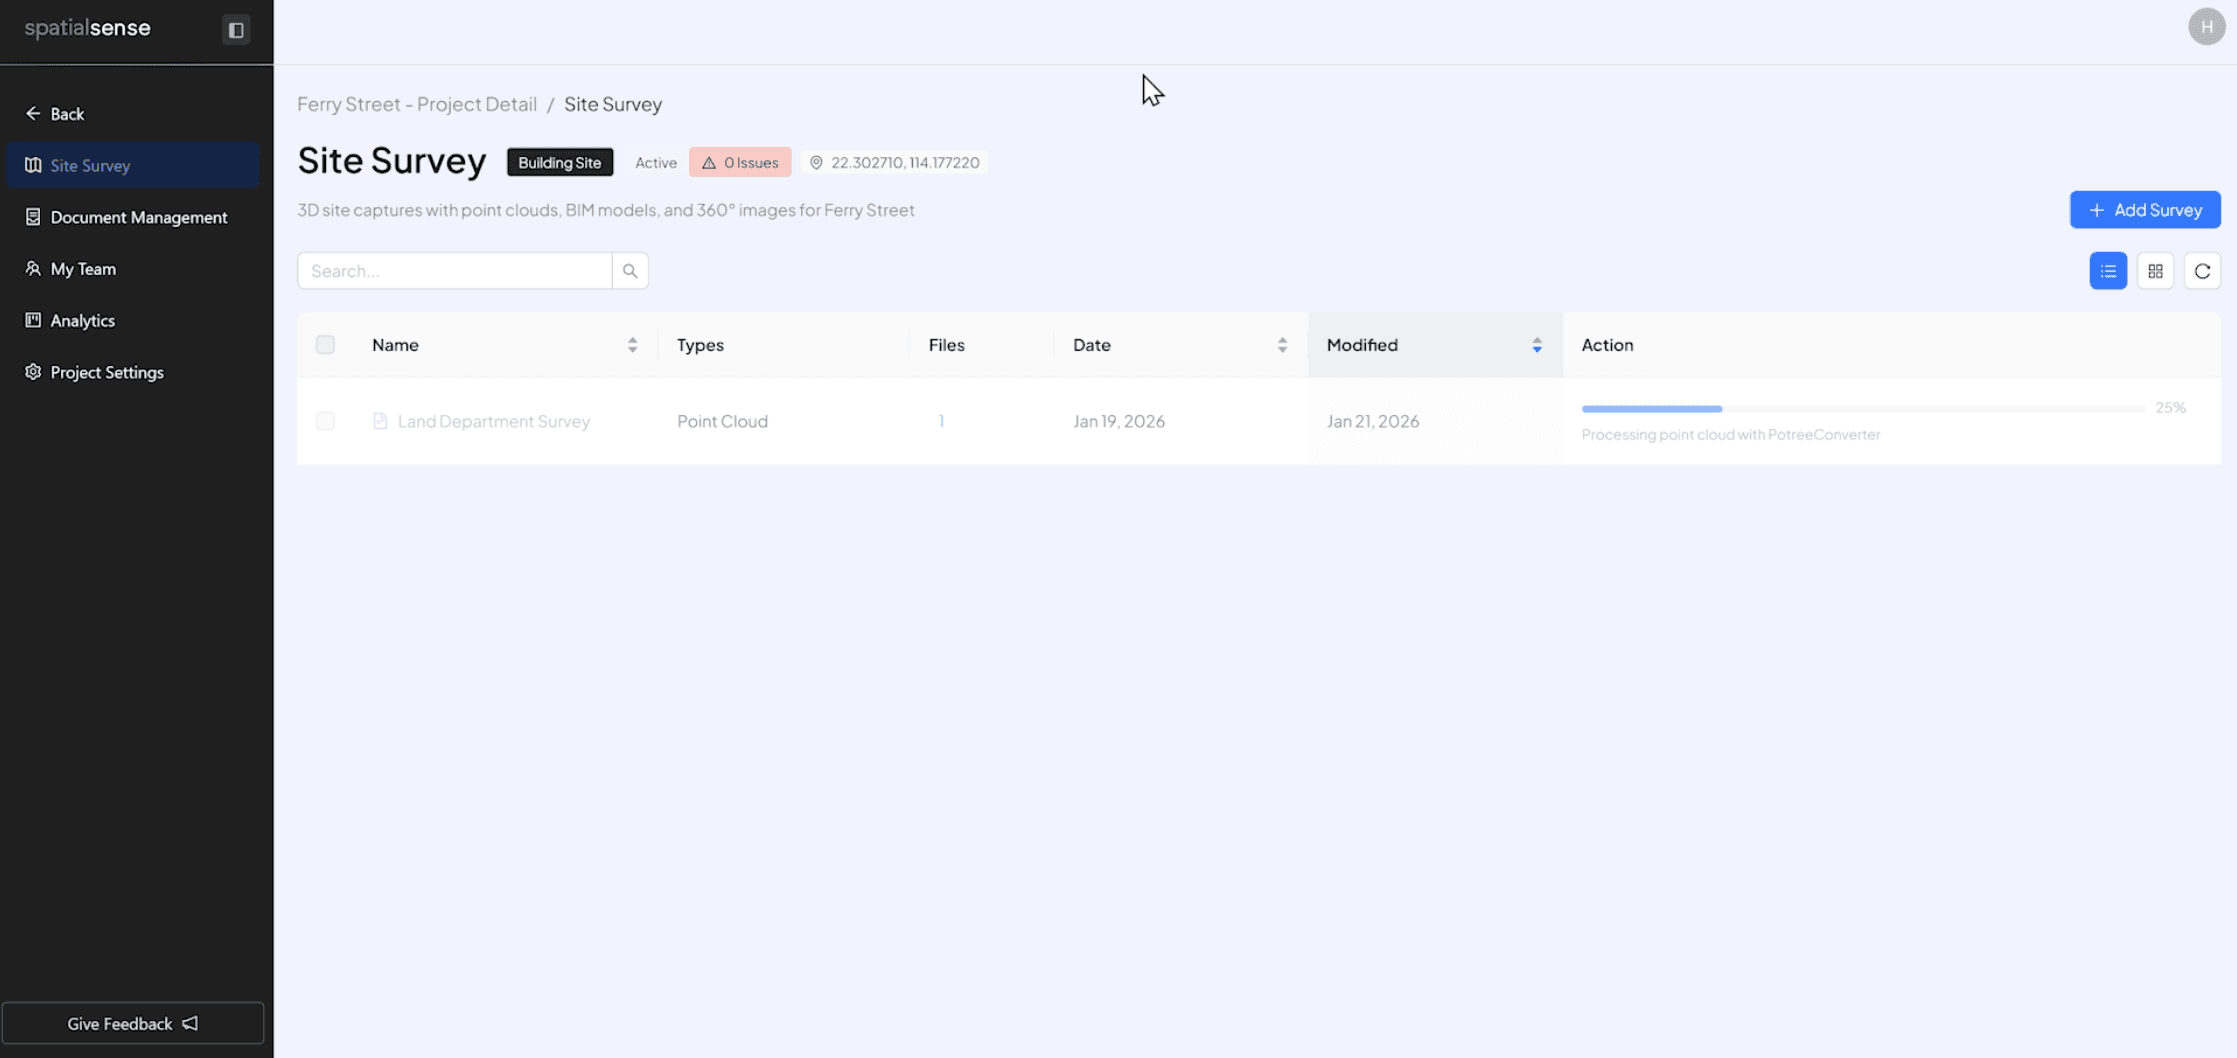
Wait for the files to be uploaded and wait for them to process
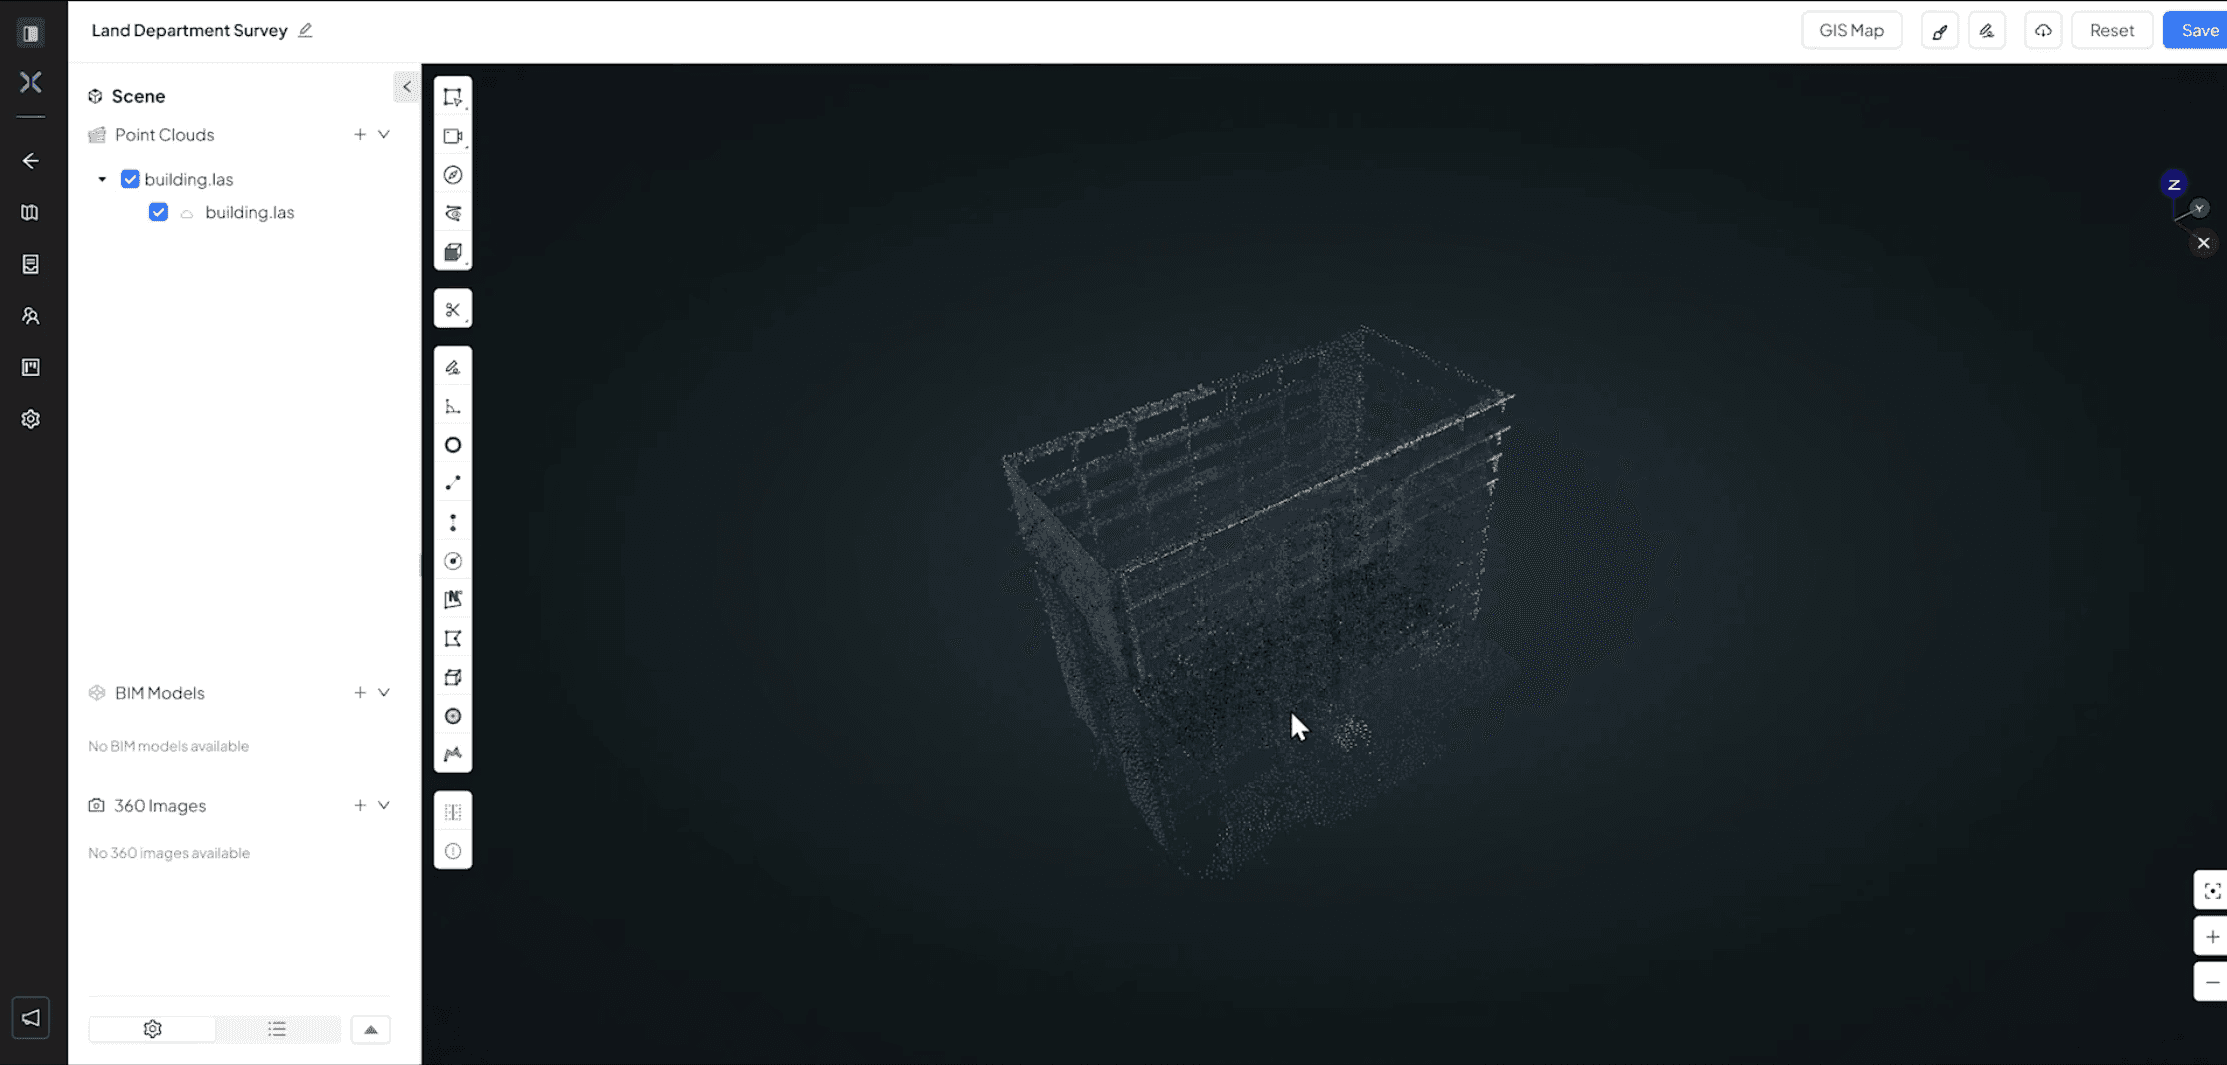
After the processing has finished, click on the survey you created to open it in the 3D viewer.
Detailed Video of Steps above